A Step-by-Step Guide to Publish and Host your E-learning on an LMS

You have developed a fantastic elearning. You are now looking for several to deliver it to your learners, right? Hosting courses developed using elearning authoring tools on a Learning Management System (LMS) is the most preferred option, because you can:
→ Download Now: State of Learning (Now and Beyond) [eBook]
- Track learning progress
- Generate various reports
Let’s check these aspects in detail.
1. Once the course is ready, click the ‘Publish’ button in your authoring tool.

2. In the ‘Publish’ dialog box, you will find various publishing options such as publish to the web, to an LMS, CD, Word, and other options.
3. Click the Learning Management System (LMS) tab to publish your elearning course to an LMS.
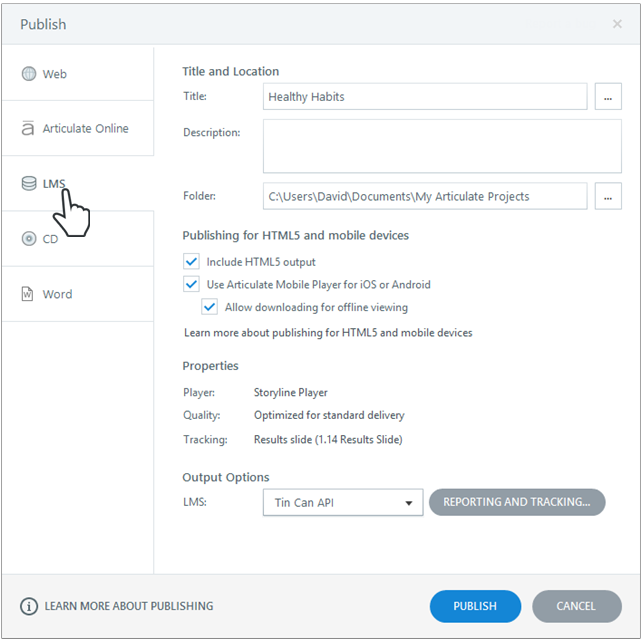
3. Enter the course Title, Description, and the location of the Folder where you want to save your course.
4. In the Description field, give the synopsis of the course so that learners can easily know what the assigned course is all about.
5. In Folder field, indicate the path where your course should be saved. Don’t save it on the network drive or an USB to avoid inconsistencies. Save the course in your desktop’s hard drive first. From there, you can copy it to your desired location.
6. You can add additional information about the course by clicking the button beside the Title box. In some authoring tools, this option helps view the course on Smartphones. You can fill in other details of the course such as the name of the author, email address, duration, and more.
7. Now most tools offer HTML5 output option in publishing so that your elearning is compatible with mobile devices.
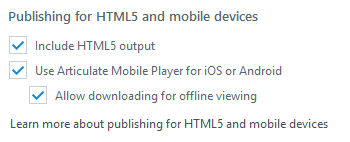
8. To do that, you can select the HTML5/mobile publishing option in the dialog box. This option helps access the course on devices that don’t support Flash such as iPads.
9. Checking ‘Include HTML5 output’, allows your learners view your course as HTML5 content.

A Bird’s Eye View of What Top-Performing L&D Teams are Doin
- Aligning Learning Strategy with Business Strategy
- Developing Business Skills for the Future
- Investing in the Right Technology
- Much More
10. Checking ‘Use Articulate Mobile Player for iOS or Android’ allows your learners enjoy optimum viewing experiences on iPads and Android tablets.
11. In some tools, tracking mobile player content is possible when the LMS has xAPI or Tin Can API specifications.
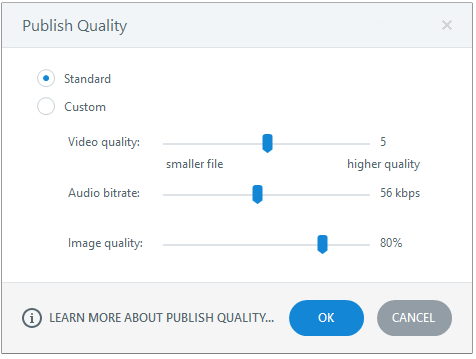
12. You can adjust the publishing quality through the Player properties.
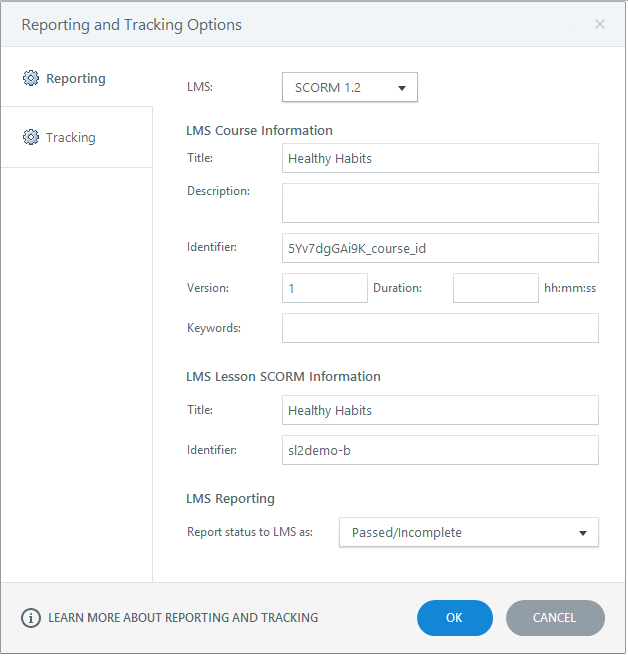
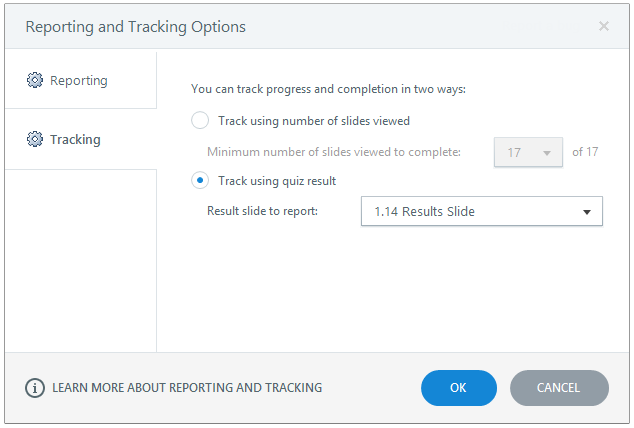
13. You can select ‘Reporting’ and ‘Tracking’ options from the Properties section of the Publish dialog box.
14. You can select the appropriate Reporting options with the help of your LMS administrator from the available standards of SCORM, AICC, xAPI or Tin Can API in the drop down menu.
15. You can track learners’ progress by selecting the options: Track number of slides viewed and Track quiz results from the Tracking tab.
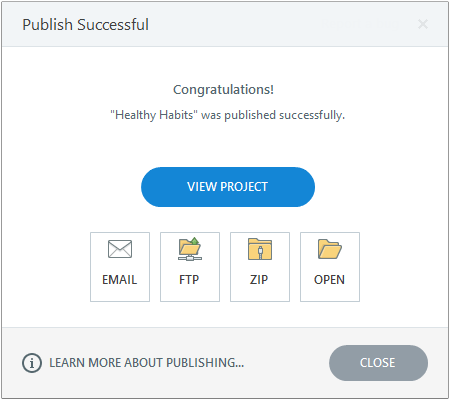
16. Click the ‘Publish’ button after all the selections. You will see the ‘Publish Successful’ dialog box when the process is complete.
Now you can upload the course on your LMS.
- Open your LMS and go to Site Administration > Courses > Add/Edit Courses
- Add this course to an existing category or create a new category.
*Note: I have used Articulate Storyline for this blog – the steps, titles, and screenshots are specific to Storyline. . The same can be achieved in Adobe Captivate, Lectora Inspire, and other authoring tools as well.
Need further details to integrate your elearning with your LMS? Check our free e-book: How to Harness Moodle LMS Efficiently to Meet Your Training Needs.


