For years, Adobe Flash was the uncrowned king of the e-learning world. This highly flexible software could be used to develop wonderful animations, interactivities of a very high quality including drag and drop, simulations, role plays and so on it facilitated harnessing the creative powers of online course developers. Companies across the world developed hundreds of online courses using this highly flexible tool. It appeared that the reign of Flash would continue forever. But, all this changed with the advent of the mobile learning era which required converting Flash content to HTML5.
→ Download Now: Rapid eLearning — The 4 Rs for Corporate Training Success
All about Converting Flash to HTML5
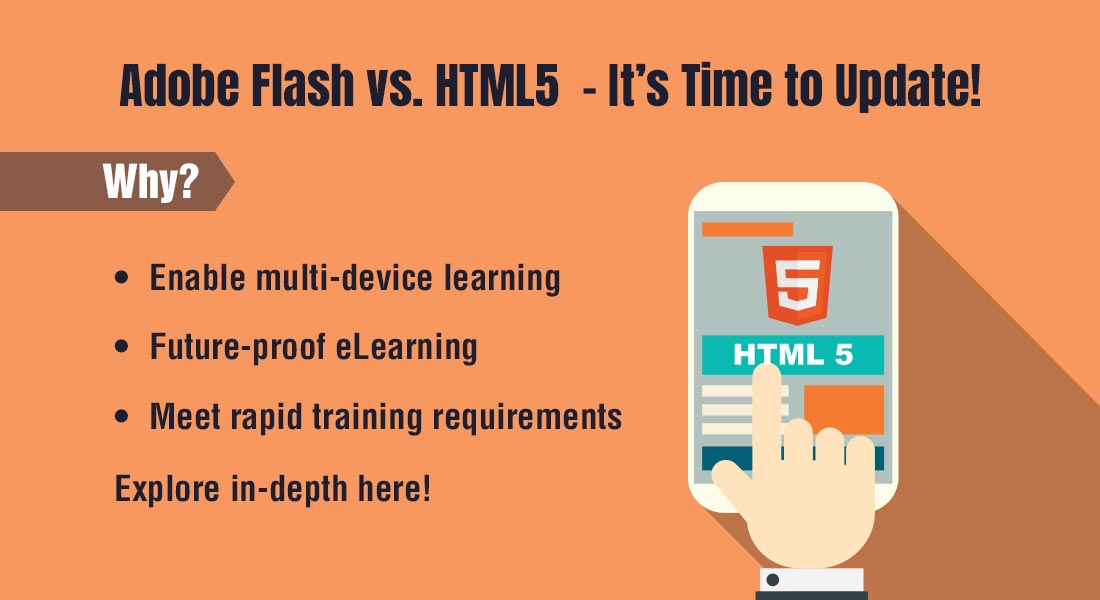
Why Convert Flash to HTML5?
Flash courses are incompatible with most smartphones and tablets
How to Convert Flash to HTML5?
There are nine steps involved in converting Flash content to HTML5, which begins with collating Flash-based courses and ends with reviewing course quality and delivering it to the stakeholder.
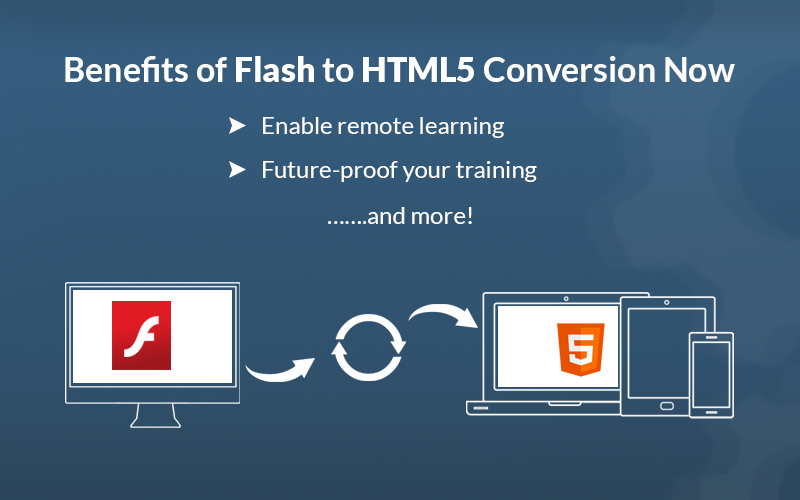
Despite all its powerful features, Flash is not compatible with most Smartphones and tablets. With the demand for mobile learning increasing by leaps and bounds, the incompatibility of Flash with mobile devices this is a serious disadvantage.
The solution to this problem lies in migrating Flash content to the HTML5 format. HTML5, the latest development in web technology, is compatible with all devices, irrespective of their platform. HTML5 allows learners access to online learning content on the devices of their choice.
Steps to Convert Flash Content to HTML5
Let us now look at the steps involved in converting Flash-based online courses to the HTML5 format.
Step 1: Gather All Course Files
Collect all media and supporting files such as FLAs, XML, JavaScript, audio, videos, etc., before commencing the conversion of your Flash-based technology-enabled learning content to the HTML5 format. This will go a long way in making the conversion quick and simple.
Step 2: Extract Content and Media from the Flash-based Course
The next step is to extract content and media from the legacy course and copy the onscreen text and labels of navigational buttons in the Graphical User Interface (GUI) in an MS-Word document or a PowerPoint presentation. It is advisable to create a structure of Folders and copy various media elements such as audio, videos, and graphics and store them in their respective folders.
Step 3: Choose the Right Rapid Authoring Tool
Now, you need to select the right rapid e-learning development software to convert your Flash-based online learning content to HTML5. The choice of the rapid authoring tool needs to be guided by the content of the legacy eLearning course. For instance, if the course is scenario-based, then Articulate Storyline is the right tool for conversion. However, if the course is an online software tutorial, then Adobe Captivate will be the best fit. It is also important to consider the course loading time, and the audio and video capabilities of the software before making a decision.

Have You Met the 4 Rs of Rapid eLearning?
Accelerate Learning and Maximize its Impact With the 4 Rs of Rapid eLearning!
4Rs of rapid eLearning:
- Redesign
- Record
- Rebuild
- Republish
Step 4: Finalize the GUI and Interactivities in the Converted Course
This is a critical step because the GUI of the HTML5 course may look different from that of the exiting Flash-based course. It is also important to check whether the interactivities in the legacy course can be replicated in the converted version, as certain interactivities created in Flash cannot be duplicated using HTML5.
Step 5: Use the Right Templates to Develop Interactivities and Assessments
Templates play a key role in enhancing the efficiencies of e-learning designers, because the necessary framework for designing is already created. They can be customized according toyour needs and help ensure consistency in the course.
Step 6: Create a Prototype that Mirrors the “Real Converted Course”
The prototype needs to contain all the elements that are to be included in the actual HTML5 course to present a clear picture of how the course will look like when it is fully created. Any changes needed can be identified at an early stage, to avoid re-work and reduce the time and cost of development.
Step 7: Get the Prototype Approved by the Stakeholder
After the prototype is developed, it needs to be submitted to the stakeholder for his review. It is very important to get the prototype approved by the stakeholder, as it assures him the online course is being created according to his needs.
Step 8: Develop the Course and Publish it
Once the prototype is approved by the stakeholder, it’s time to develop the “full course” and publish it in the HTML5 format, using the rapid authoring software finalized in Step 3.
Step 9: Review the Course for Quality and Deliver it to the Stakeholder
You now need to check the published course, to ensure it meets all quality parameters. The course is released to the stakeholder after it passes all quality checks. This marks the end of the conversion of the Flash-based online course to the HTML5 format.
Thus, you can migrate your Flash-based e-learning materials to the HTML5 format and make them mobile-compatible, thereby giving them a fresh lease of life. Check the eBook Flash to HTML5 Conversion: The 4 ‘R’s that Matter for more insights on the migration process.