How to Show or Hide the Menu in Articulate Storyline?

In eLearning courses, menu represents the outline of the course. Articulate Storyline creates menus by default, and also allows customization based on the customer requirement.
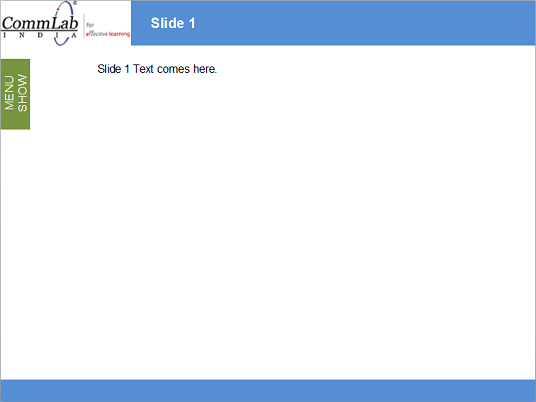
Recently, one of our clients had a unique requirement. The menu was to be hidden the menu items revealed only the user clicks the menu button.
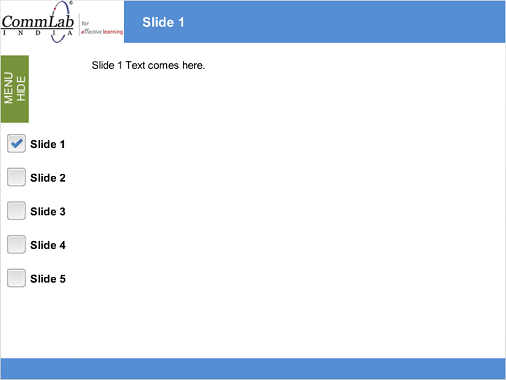
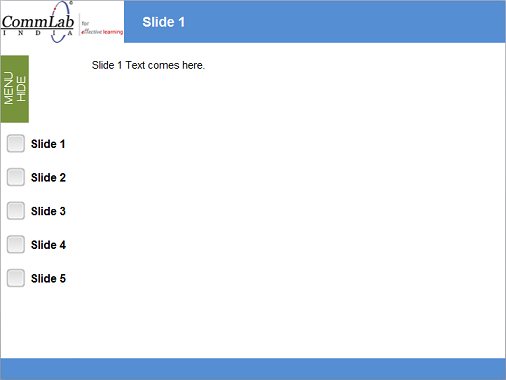
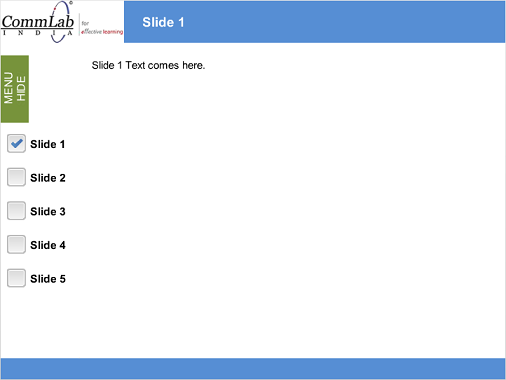
He also wanted to checkmark to indicate visited state for menu items after the respective slides were visited (as shown in the screenshot below).
Hidden menu in the slide.
Show menu with visited state for menu items in the slide.
Want to know how we met this requirement? Well, check out the steps listed below.
Step 1:
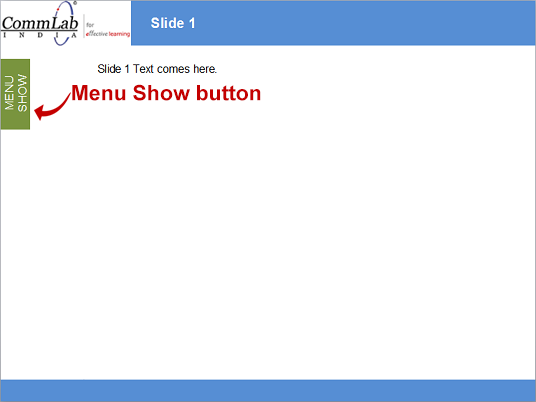
Create a normal slide Slide 1 with a Menu Show button as shown below.
Step 2:
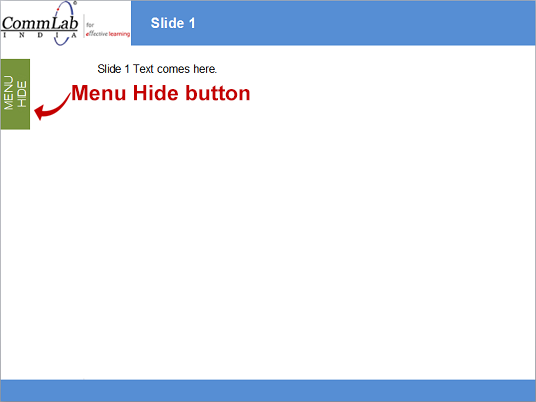
Create a new layer in Slide 1 named Menu Items and insert a button named Menu Hide.
Step 3:
Create the menu items in the layer with checkboxes.
Step 4:
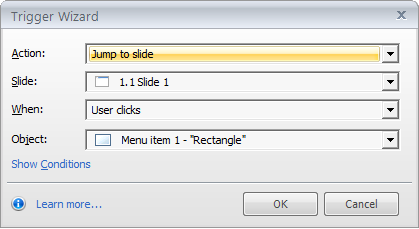
Add a ‘Jump to slide’ trigger for each Menu item in its respective slide.
Step 5:
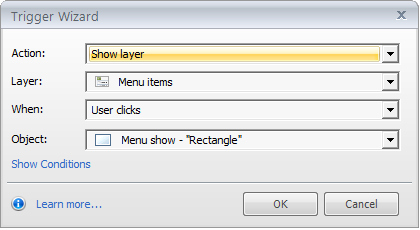
Go to the Main layer and add a ‘Show layer’ trigger to show the menu items layer.
Step 6:
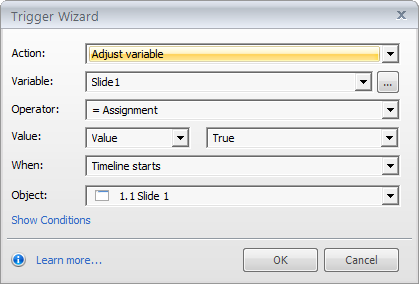
Create one variable for each slide, and adjust the variable to True when the timeline of the respective slide starts.
Step 7:
Go to the Slide layer and add a ‘Hide layer’ trigger to hide the menu items layer.
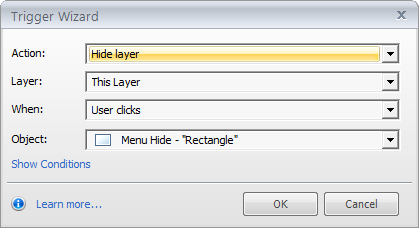
Step 8:
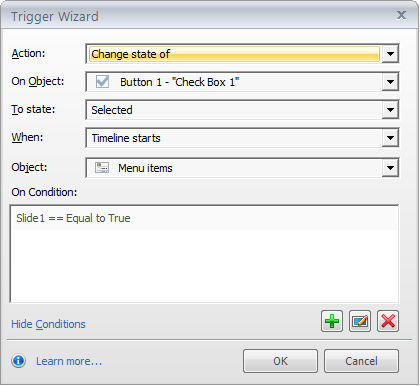
Add the triggers given below to the Menu items layer.
Trigger 1: Change the state of Check Box 1 to Selected when the timeline starts on the condition Slide 1 is True.
Trigger 2: Change the state of Check Box 2 to Selected when the timeline starts on the condition Slide 2 is True.
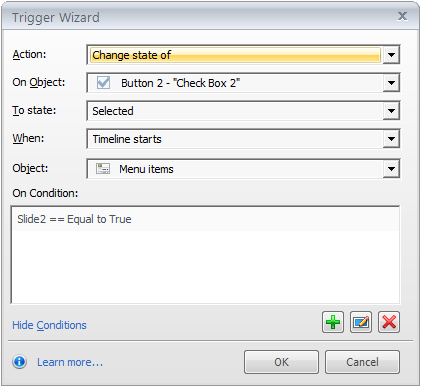
Add these 2 triggers for all menu items (3 remaining in this case) also.
Repeat the above steps for all the slides in the course.
Publish or preview the course to check the functionality of the menu.
In this way, we can do show or hide the menu in Articulate storyline. Hope you found this post useful. Do share your thoughts.


