Creating an Interesting E-learning GUI Design in Articulate Storyline – Part 2

Articulate Storyline, a popular rapid e-learning authoring tool, includes a great feature to customize the Player/GUI as required. Once customized, we can reuse the same interface in multiple e-learning courses. In my previous blog, I shared a few tips to customize GUIs (Graphic User Interface). We have seen how to o customize the GUI dimensions (Width and Height) and add customized Back and Next buttons. We can also customize other GUI futures such as the Menu, Notes, Resources, and Help buttons.
In this blog, let’s see how to add:
- custom Menu in the GUI
- Notes to display the audio script
Custom Menu in GUI:
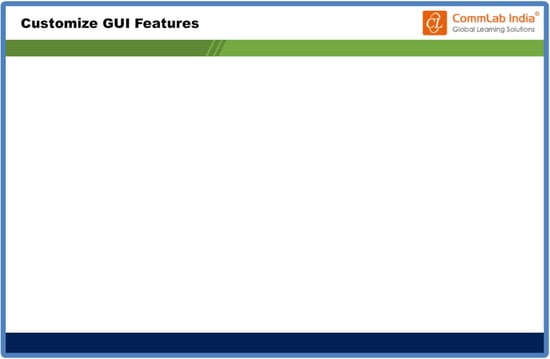
Any GUI has a Menu using, which, you can navigate through the slides in the course. As the Menu is to be available throughout the course, we need add it in the Master slide. First, design the GUI as required.
Step 1:
Design or Insert the Menu button in the Master Slide.
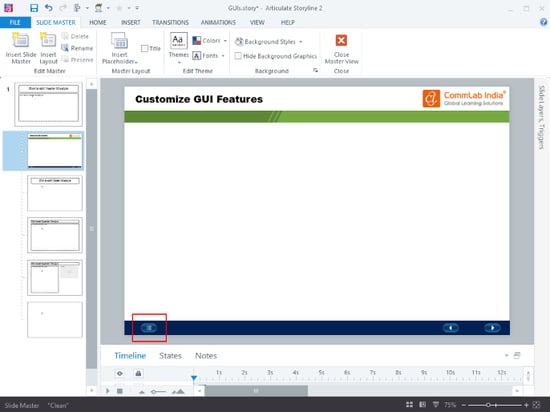
Step 2:
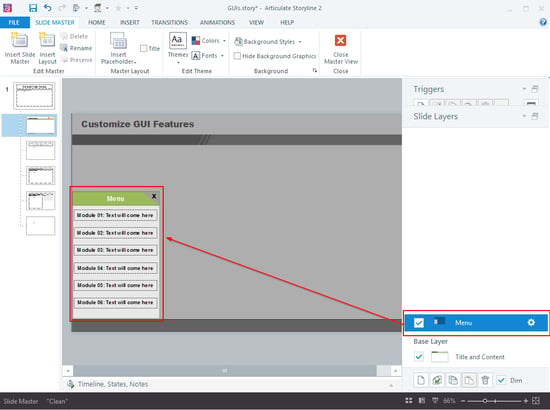
Insert a Slide layer and name it “Menu”. Design the “Menu” layer and add the Menu list (as see in the image), according to your topics or modules.
Step 3:
Assign a trigger to jump to the respective slide when a menu topic is clicked.
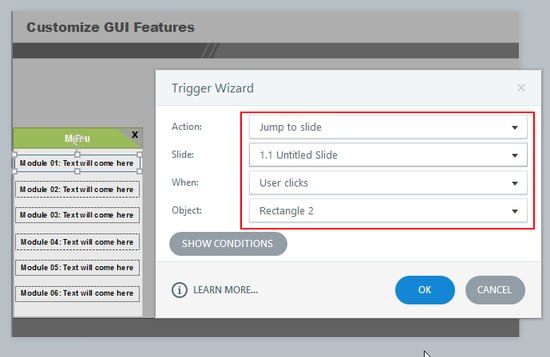
Similarly, add some more slides for the other menu topics and add triggers for each of them.
Step 4:
Add a Trigger to the Master slide Menu button to show the Menu layer.
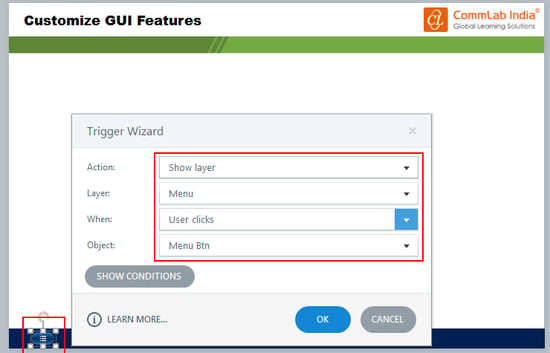
Now, preview and check the course. The customized Menu is ready for your course.
Adding Notes:
If you want to display audio script in the course, it helps the learner read the script along with the audio.
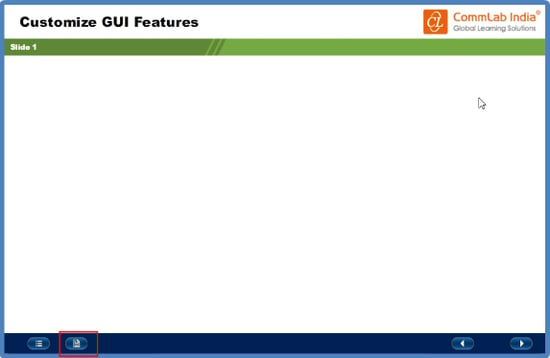
You can set the script in many ways based on the requirement.
Step 1:
Design or create a Script button as shown below.
Note: The Script button is required for each slide and each slide has its own script. So don’t include this feature in the Master slide.
Step 2:
Insert the Script slide layer in every slide and add the text to be displayed.
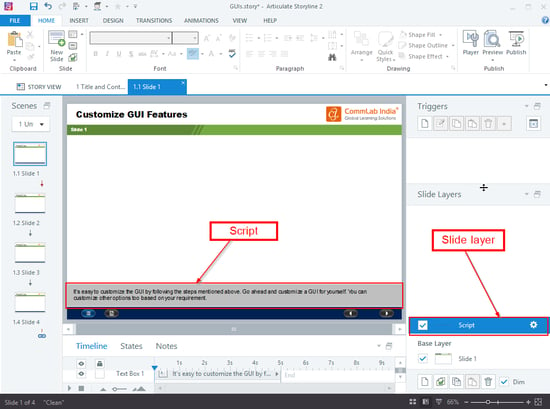
Step 3:
Include the Exit button to hide the script.

Repeat these steps to add the Script button in the other slides.
Hope these steps help you save valuable time the next time you need to customize the GUI in Articulate Storyline.
In my next blog, I will show how to add customized Resource buttons. See you soon!


