Creating an Interesting E-learning GUI Design in Articulate Storyline – Part 3

In my earlier blog, we saw how to customize the Menu and Audio Script buttons in Articulate Storyline. In this post, we will see how to customize the Resource option in the GUI.
→ Download eBook Now: Rapid eLearning Authoring Tools
Adding Resources:
Resources are usually added to an e-learning course to provide extra information on the subject. By adding a Resource button in the Graphical User Interface, you can provide reference material in the form of MS Word documents, PDFs, and other job aids to view/save and print for future use. By default, we can enable this feature using the Player.
A resource can be added either for the entire course or a particular slide. Now we will see how to add a resource for the entire course.
First, just like the Menu button, we need to design the Resource page where you can add the all reference material and a slide layer to show the Resource page.
Step 1:
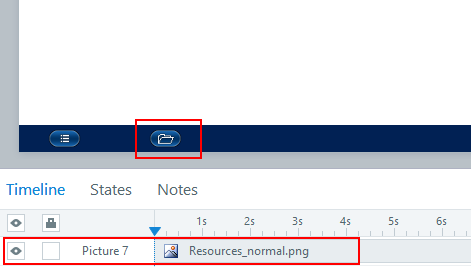
Design or Insert the Resource button in the Master Slide.
Step 2:
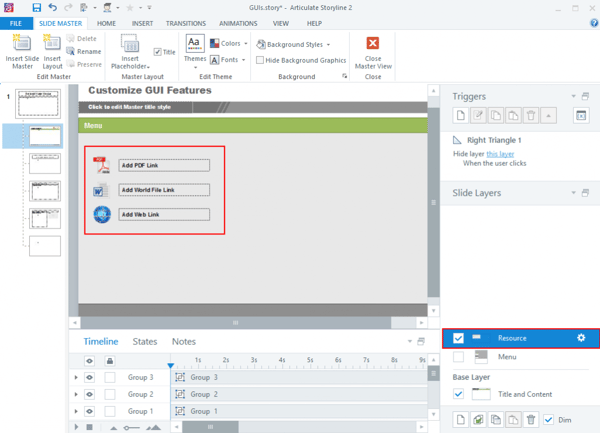
Insert a slide layer and name it “Resource”; design the layer as you want it to be displayed in the Resource tab.
Step 3:
Assign triggers to the respective links.
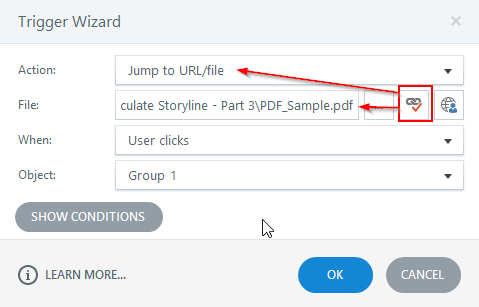
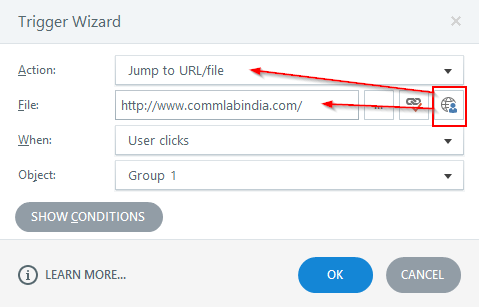
Note: You have option to choose either a File (from your local system) or URL (from the Internet), based on your requirement.
Step 4:
Publish the course and check the links in the Resource page.
The Resource button can be customized based on your requirement.
Hope this helps you customize the Resource button. In my next blog, I will show how to add a Custom Help Button.


