How to Create Drag and Drop Layer Interactivity in Articulate Storyline

Articulate Storyline allows creating interactivities in different manner. Generally we know Drag and drop can be used as assessments. Not only that we can use it as a layer interactivity to reveal the related content of the dropped object. This can be possible using the triggers.
Here are the steps involved.
Step 1:
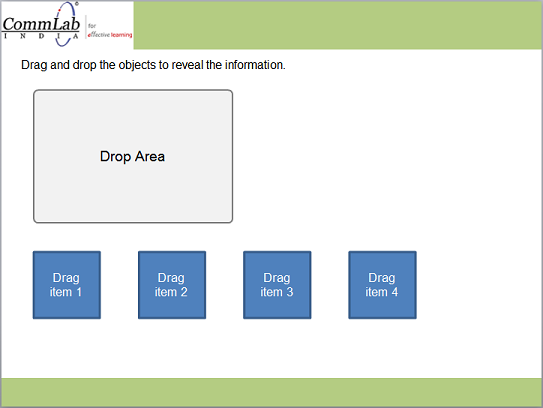
Create a normal slide with drag items and drop targets as below screenshot.
Step 2:
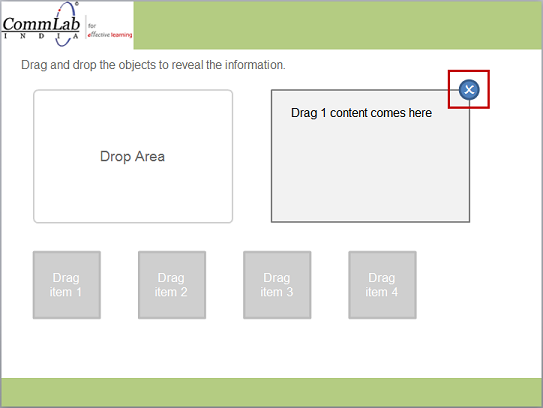
Create a slide layer for drag 1 and insert the related content into it. And insert close button in the slide.
Step 3:
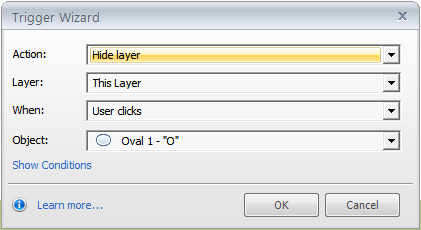
Go to slide layer and add the below trigger to close the layer when user clicks close button.
Step 4:
Add the below triggers.
Trigger 1: Show layer 1 when user drags drag item 1 on to drop area.
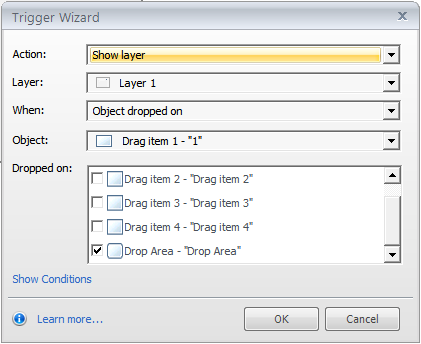
Trigger 2: Change state of drag item 2 to Hidden when drag item 1 drops on drop area.
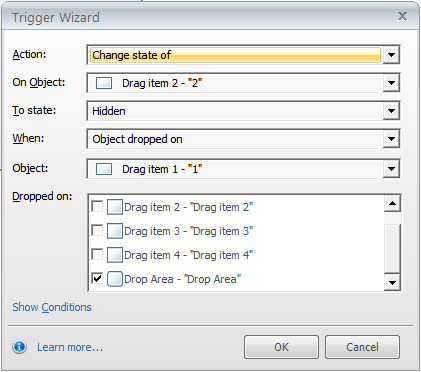
Trigger 3: Change state of drag item 2 to Normal when drag item 1 drops on drop area.
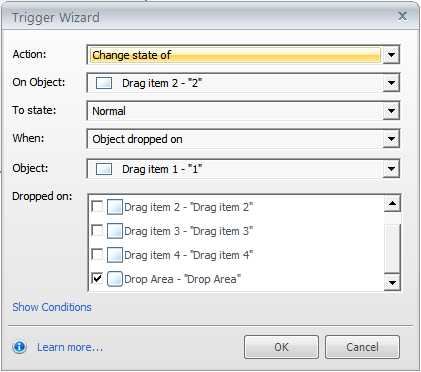
Trigger 4: Change state of drag item 3 to Hidden when drag item 1 drops on drop area.
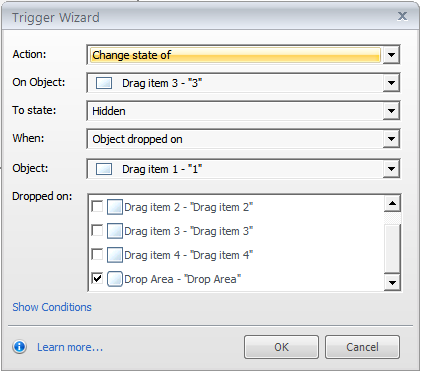
Trigger 5: Change state of drag item 3 to Normal when drag item 1 drops on drop area.
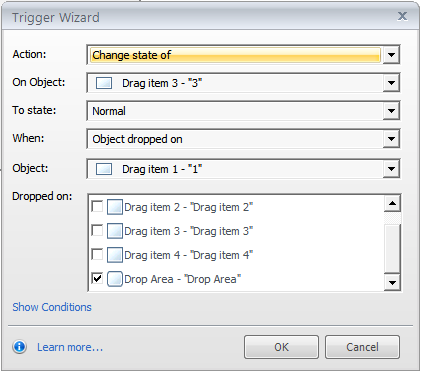
Trigger 6: Change state of drag item 4 to Hidden when drag item 1 drops on drop area.
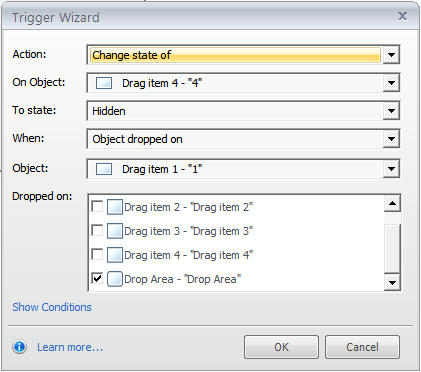
Trigger 7: Change state of drag item 4 to Normal when drag item 1 drops on drop area.
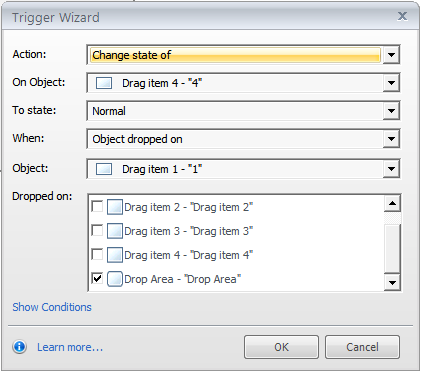
Repeat the above steps 2 to 4 to all the drag items in the slide.
Publish or preview the course to see the output.
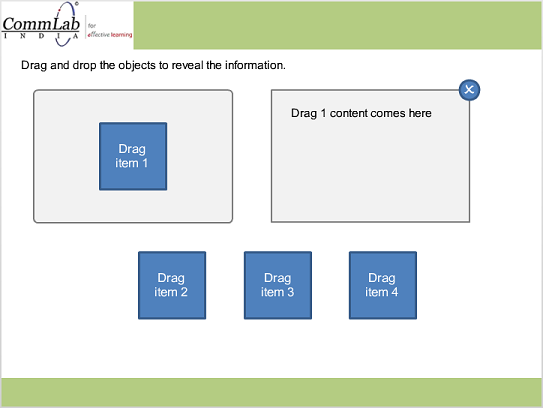
In this way, we can create drag and drop layer interactivity in Articulate Storyline. Hope you found this post useful. Do share your thoughts.


