Articulate Storyline 2: Creating Assessments Using the Slider Control

Assessments in e-learning courses test learners on the topic they have been trained on and reinforce knowledge by providing feedback. Articulate Storyline 2 offers wonderful options to create effective e-learning assessments based on different requirements.
In this post, let’s discuss how the slider control can be customized to create an engaging assessment. When the learner moves the slider to the correct position, the correct popup should be displayed. If it is moved to an incorrect position, the incorrect popup should be displayed.
Here are the steps to meet this requirement.
Step 1: Create a normal slide and insert a slider, question, and options.
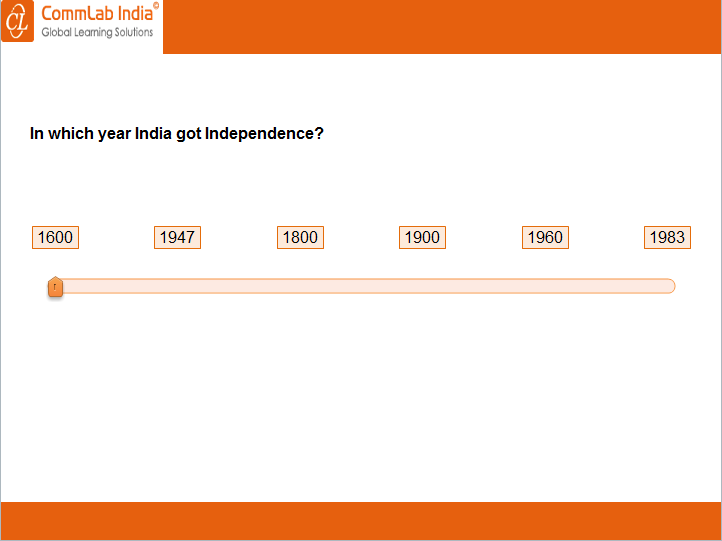
Step 2: We can change the properties of the slider – select the slider and go to slider tools to change properties.

Step 3: Insert two rectangles (Correct and Incorrect) in the slide and place them outside the stage.
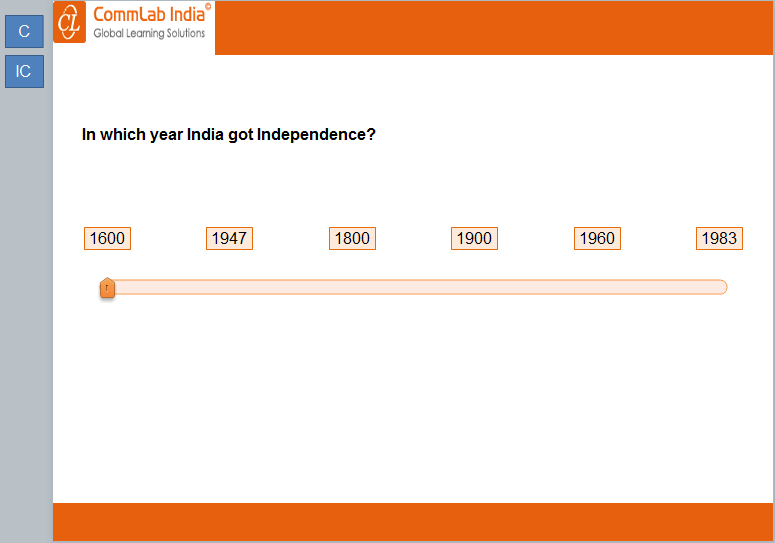
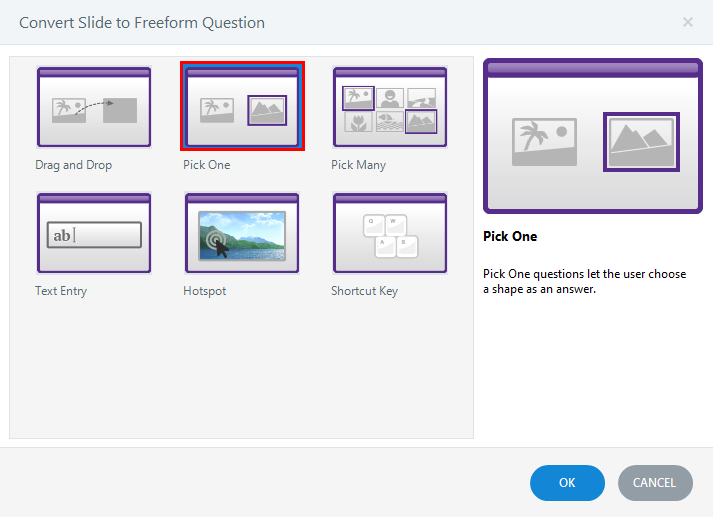
Slide 4: Convert the slide to a free form Pick One slide.
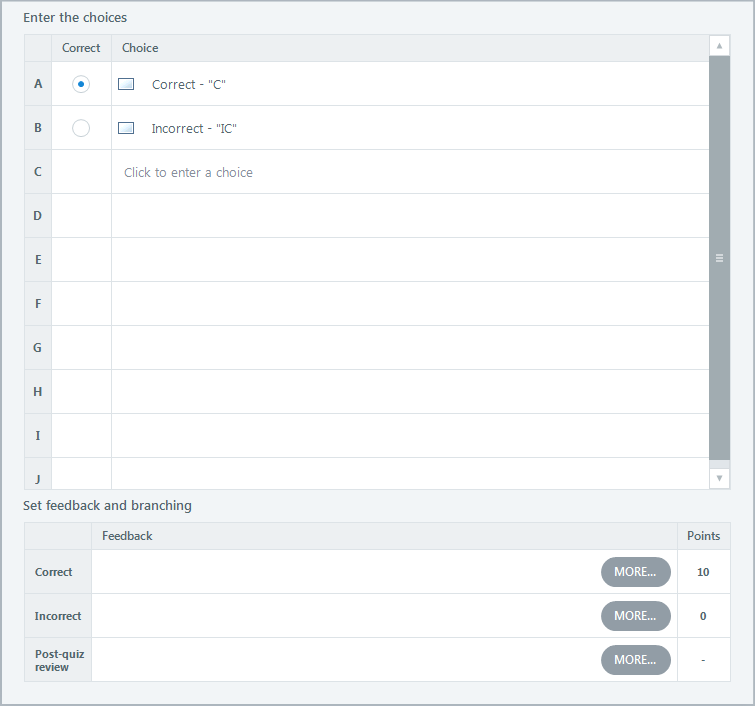
Step 5: Add the two rectangles as choices and select the correct option.
Step 6: Add the triggers explained below.
Initially, the slider value is “0”. It will increase by “1” if the slider progresses to the next position (0 to 5). Here, the correct option is at the second position.
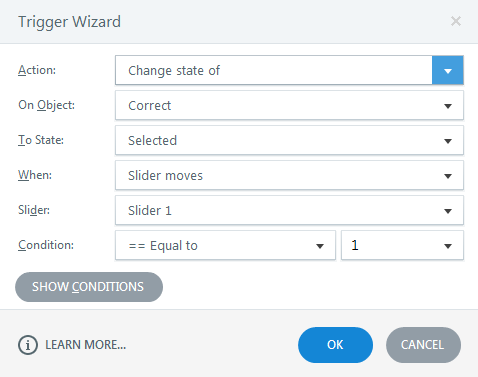
Trigger 1: Change the state of the rectangle Correct to Selected, when the slider value becomes “1”.
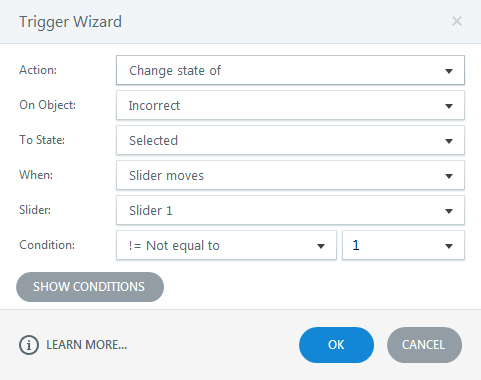
Trigger 2: Change the state of the rectangle Incorrect to Selected, when the slider value is not “1”.
Preview or publish the course to check the output.
This is a simple way to create assessments using the slider control in Articulate Storyline 2. Hope this post helps you develop engaging assessments for your online courses. Do share your thoughts.


