How to Export Translation Template from Articulate Storyline to Word

Articulate Storyline has a default Publish option to export e-learning courses to Word format. This makes preparing the template for e-learning translations very easy and quick.
But unfortunately, when we publish a project, it displays an error message. This is a recurring issue for many of our developers and leads to a great deal of frustration. We use the latest version of Articulate Storyline 2 (Update 7: 15090.1405). Are you also facing this issue? Then read on to know how this problem can be fixed.
This is the error window that’s often displayed.
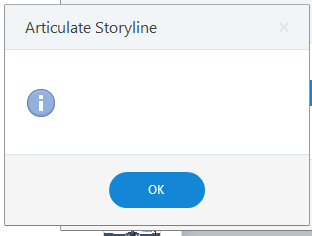
Let’s look at 2 solutions at which I’ve arrived after a lot of effort.
Solution 1:
Take a new, fresh project and insert the entire project in the new file.
1. Create a new Project.
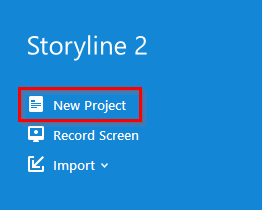
2. Select the same dimensions as the earlier project.
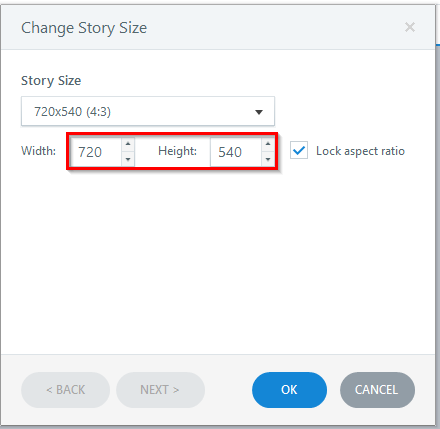
3. Import all the project slides to the new Project.
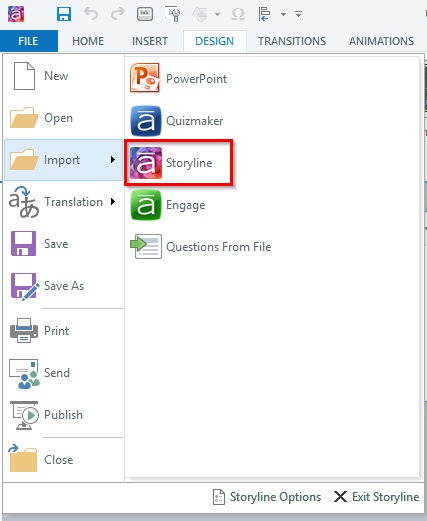
4. Import all project slides.
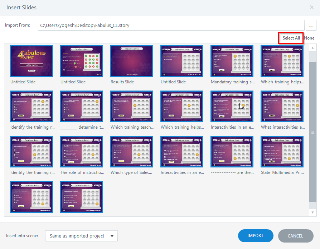
5. Publish the project.
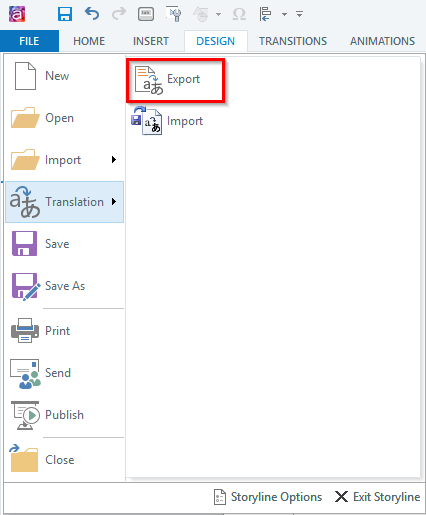
Finally, check your published files.
This option will work if your course has a standard size.
Please note that this solution may not always work as many of the objects will be resized automatically which you need to adjust manually. Thus, it may a long time to fix the course.
Solution 2:
Change settings in IE web browser.
1. Open the IE (Internet Explorer) Browser.
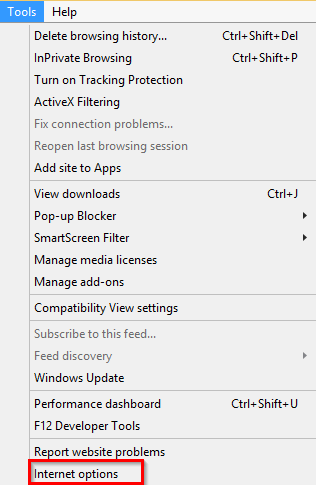
2. Enable the Menu in the IE Browser and click the Tools menu.

3. From the Tools menu, select Internet Options.
4. The Internet Options window will appear at the top of screen, now select the Advanced tab.
5. Select the Reset… button from the Reset Internet Explorer Settings.
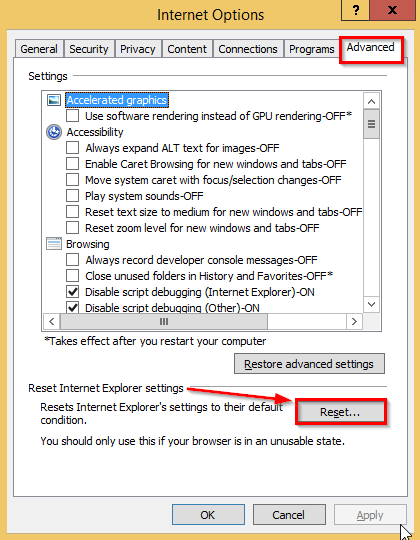
6. Check the ‘Delete personal settings’ box and click the Reset button.
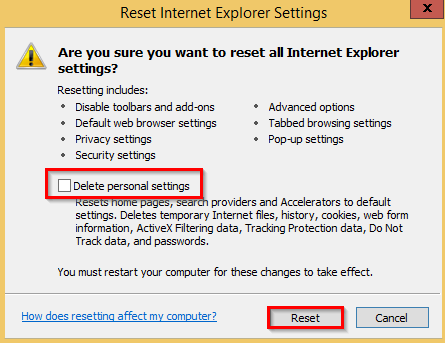
7. The Reset Internet Explorer Settings window will open; check all the 4 sections with a completed status. Now, click the Close button to reset all the required changes.
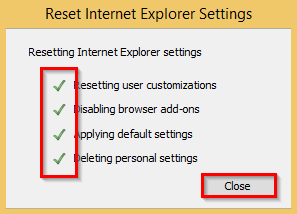
8. Finally, when you get the message shown below, Restart your system.
![]()
9. Now publish your project.
Hope this blog will help you publish your course in Word format and ease your e-learning translation efforts.


![Want More From Training? Focus on E-learning Course Translations! [Infographics]](https://blog.commlabindia.com/hubfs/Imported_Blog_Media/elearning-translations-at-low-cost-.jpg)

![6 Tips to Cut Down on E-learning Translation Costs [Infographic]](https://blog.commlabindia.com/hubfs/Imported_Blog_Media/tips-to-cut-elearning-translation-cost-infographic.jpg)