Isn’t it wonderful to move objects in an e-Learning course using the arrow keys? Well, that is possible using the motion path feature in Articulate Storyline 2. In this blog, we shall see how motion paths can be created for an object in Articualte Storyline 2.
Follow these steps to create motion path for an object:
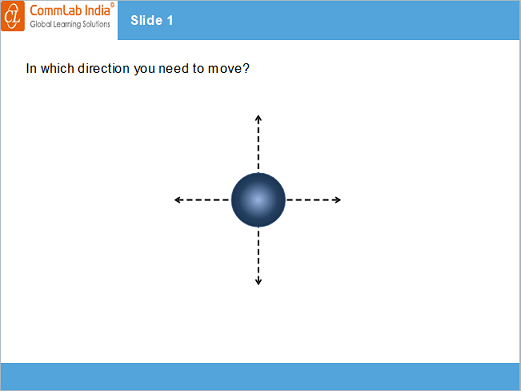
Step 1: Create a slide and insert an object into it.
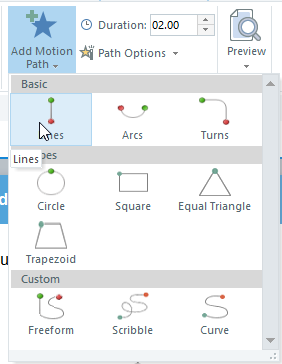
Step 2: Select the object and go to the animations tab and add Line motion path1.
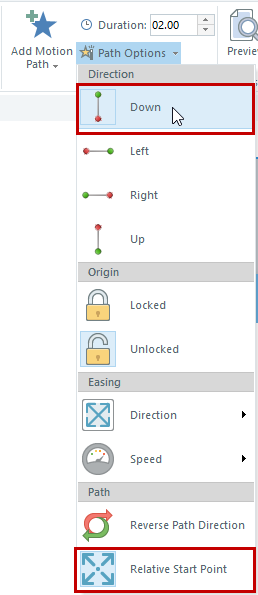
Step 3: Go to Path Options to select Direction as Down and choose Relative Start Point as the path.
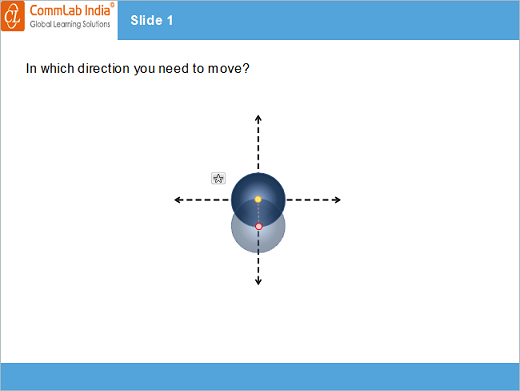
Step 4: Adjust the line motion path1 destination to the required position as shown below.
Step 5: Edit the motion path trigger as move ‘line motion path1’ when user presses the Down key.

Step 6: In the same way, add the remaining 3 motion paths to the object and edit the triggers.
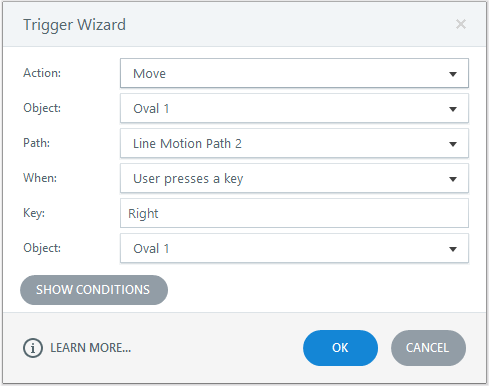
Trigger 1: Move line motion path2 when user presses the Right key.
Trigger 2: Move line motion path3 when user presses the Up key.

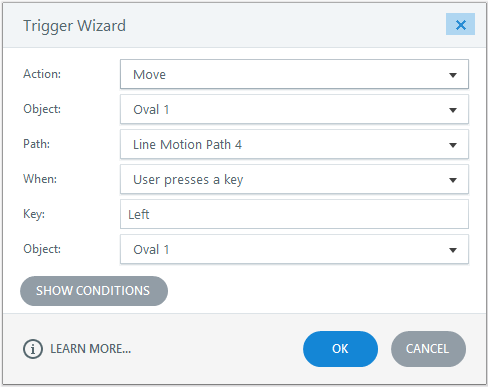
Trigger 3: Move line motion path4 when user presses the Left key.
Preview or publish the course and see the output.
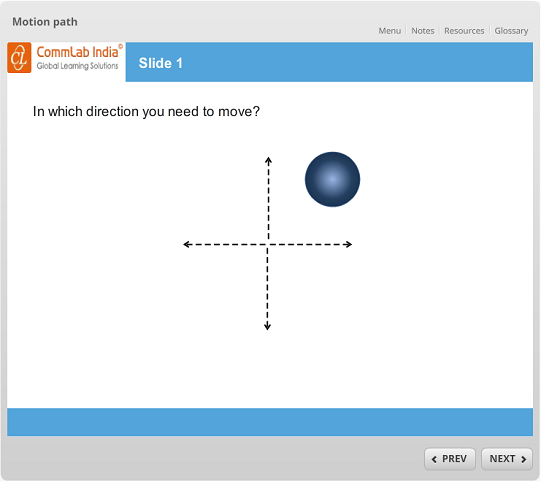
Through these simple steps, it is possible to move objects using arrow keys in Articulate Storyline2. Hope you found this post useful. Do share your thoughts.