Flash to HTML5 Conversion Process: A Ready Reckoner
Are you contemplating Flash to HTML5 conversions? Or are you thinking of implementing mobile learning in your organization? Companies, on average are spending 24% of their training budget on mobile learning. Your old eLearning courses in Flash or courses that contain Flash components can still be leveraged for your current learning needs. It is possible to make these courses mobile-compatible with effective Flash to HTML5 conversions.
An Overview of the Flash to HTML5 Conversion Process
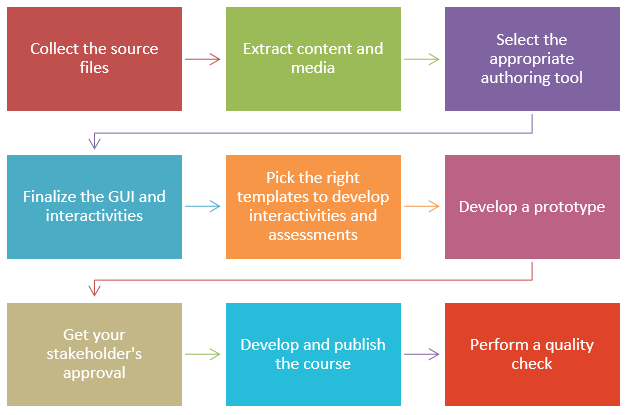
The Flash to HTML5 conversion process involves the following 9 steps:
- Collect the source files
- Extract content and media
- Select the appropriate authoring tool
- Finalize the GUI and interactivities
- Choose the right templates
- Develop a prototype
- Get your stakeholder’s approval
- Develop and publish the course
- Perform a quality check
Here’s a ready reckoner that can give you a bird’s eye view of the Flash to HTML5 conversion process.
Step 1: Collect the Source Files
Before commencing the Flash to HTML5 conversion, it is a good practice to ensure that you have all the source files (FLAs, XML, etc.) including the media and supporting files. This eases the process of migration from Flash to HTML5.
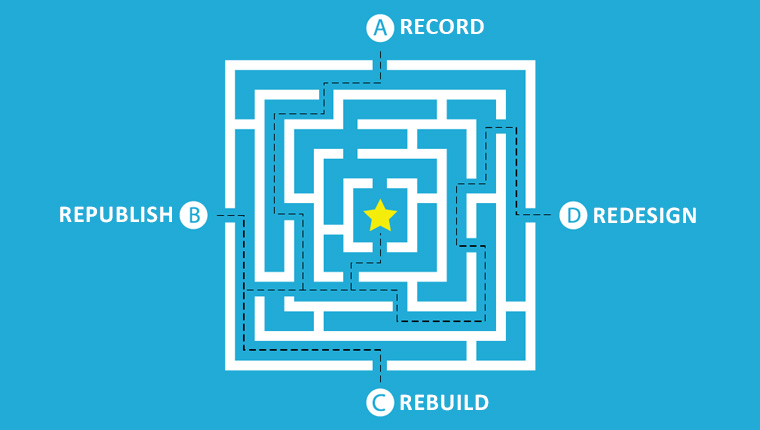
In the absence of source files for Flash-based eLearning courses, you can convert them to HTML5-based eLearning using the ‘Record’ conversion strategy. To extract text from images, you can use tools such as OneNote and OCR Online.
Step 2: Extract Content and Media
After collecting all the required files, extract the content and media from the existing course and copy the onscreen text and labels of navigation buttons in the Graphical User Interface (GUI) in an MS-Word document or a PowerPoint presentation.
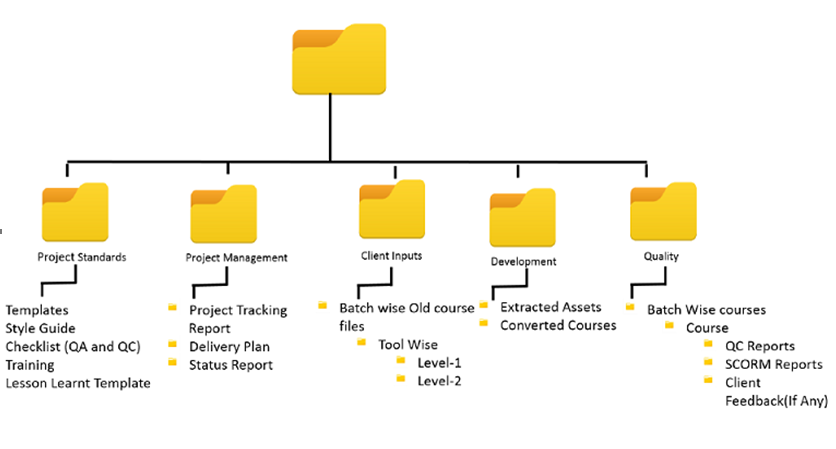
Create a folder structure and copy media elements such as audio, videos, and graphics and store them in their respective folders. Learning resources in the form of PDF files and MS-Word documents too need to be copied into specific folders.
Step 3: Select the Appropriate Rapid Authoring Tool
Now, you need to choose the most appropriate rapid authoring tool for effective Flash to HTML5 conversion. Some of the popular authoring tools for Flash to HTML5 conversion are:
- Articulate Storyline – A favorite when a lot of interactivities need to be incorporated in the courses converted from Flash
- Adobe Captivate – Works well when courses converted from Flash to HTML5 include a lot of simulations
- iSpring Suite – The go-to tool for PPT to HTML5-based eLearning (when storyboards of Flash courses are available)
- Lectora Inspire – A good tool to use for converting text-heavy Flash courses to HTML5
- dominKnow One –When you are looking for a collaborative platform to convert Flash courses to HTML5-based responsive eLearning
Step 4: Finalize the GUI and Interactivities
Most of the authoring tools offer readymade templates for the GUI. These GUI templates can be customized to reflect the company’s branding guidelines and facilitate easy course navigation. It is also essential to check whether the interactivities in the Flash-based eLearning courses can be duplicated in HTML5. Some Flash-based interactivities can’t be replicated in HTML5. In such cases, you need to choose alternatives. For example, some complex animations can be converted into videos.
You can also use the Flash to HTML5 conversion opportunity to enhance the learning experience for your employees. For instance, a complex animation created using action scripts in Flash can be converted to formats such as videos, infographics, or flowcharts to ease the learning process.
Step 5: Pick the Right Templates to Develop Interactivities and Assessments
Templates offered by authoring tools make Flash to HTML5 conversions easier and save the time spent on conversion. These templates can be customized according to the requirement and lend consistency to the course. They can also be reused in other courses.
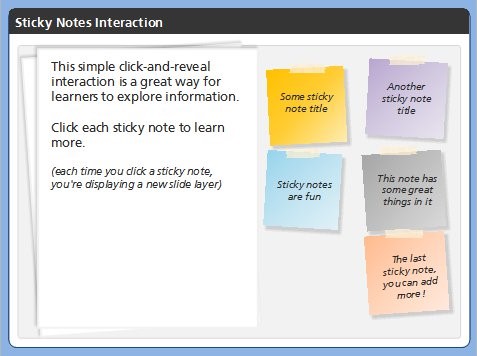
Step 6: Develop a Prototype Mirroring the Actual Course
The prototype mirrors the “real converted course” and give a clear picture of how the course looks like when it is fully created. The most common problem encountered at this stage is where an interactivity in Flash is not exactly replicated in the HTML5-based eLearning course. Alternative solutions are implemented at this stage. If any changes are required, it is identified at a very early stage. This avoids rework and thereby reduces the time and cost of development.
Step 7: Get Approval from your Stakeholder
Once the prototype has been developed, it needs to be submitted to your stakeholder for approval. It is very essential to get the approval from the stakeholder as he is reassured that the eLearning course is being developed according to requirements.
Step 8: Develop and Publish the Course
It is now time to develop the “full course” and publish it in the HTML5 format, with the chosen rapid authoring tool. You might have to incorporate changes if necessary. For example, if you require content to be updated in the HTML5-based course, developers will also have to take care of getting the corresponding audio files re-recorded to reflect the content update.
Here’s a screenshot of a course in Flash that was converted to HTML5.

Step 9: Perform a Quality Check and Deliver it to the Stakeholder
Once the course is published, it is necessary to check that it has met all quality norms. Here is a very useful checklist to make sure that your eLearning course is of top quality. The HTML5-based course is checked on multiple mobile devices and browsers to ensure it’s mobile-compatible. After the course has passed all quality checks, it is handed over to the stakeholder.
A good practice to follow is to conduct a user acceptance test (UAT) where the course is rolled out to a selected group of learners. UAT helps in identifying problems (if any, in accessing the course or completing interactivities and assessments). The course is then rolled out to all learners. This completes the migration of the existing eLearning course to HTML5.
The process of Flash to HTML5 conversion may look simple, but it is not so. It requires skilled personnel to handle the conversion process and that’s where an eLearning company with the experience of handling Flash to HTML5 conversions can assist.
Apart from the ‘Record’ conversion methodology mentioned earlier, there are a couple of other Flash to HTML5 conversion options that are available. Would you like to know more about them?
Check our eBook on this topic: “Flash to HTML5 eLearning Conversion: 4 R’s that Matter” and put your Flash to HTML5 conversion plans into action!


