The Importance of Player in E-learning Courses: Customizing it in Articulate Storyline

Let me guess… You love it when the skin of your music player or the interface of your messaging app gets updated. You find the new look refreshing and probably spend a little more time on these applications than usual because you find them completely different and exciting. What if I tell you, you are not the only one who feels this way? Yes, I like it too! In fact, most of us like it. This shows humans are attracted when the same task is performed in a visually different environment – it might be either real or virtual.The same applies for online training courses. How?
Have a look at the screenshot below. It displays the Player of an e-learning course.
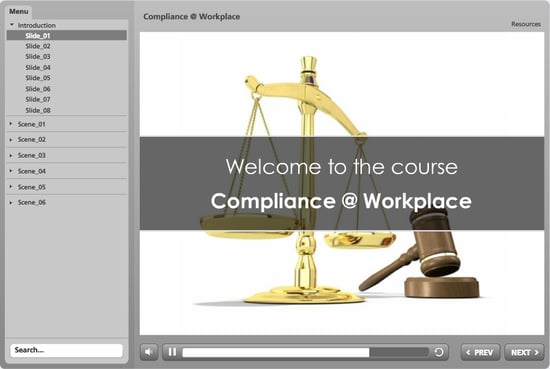
Not bad at all. You would not mind taking the e-learning course with such a Player, would you?
Okay, now get into the shoes of your learner. You deliver all your online training programs such as induction training, sales training, product training, software application training, the yearly compliance training, and a host of others with the same Player. How would you feel? At first you might feel ok; but with time, you start getting bored of accessing the courses with the same old Player. You will go not again! Ultimately, you will reach a point where you might want to skip a course just because of the boring Player.
Earlier, when e-learning courses were developed using Adobe Flash, it was not very easy to have a different Player for each course. The reason was that, you had to put in efforts and design and program the Player functionalities every time. But now, the built-in Players of rapid authoring tools make life easy for e-learning professionals. They are so flexible that you can customize the Player to suit your needs in just a few clicks. Let’s see how you can do that in Articulate Storyline.
Customizing Player Features
To customize the Player features, go to the Home tab and click the Player button.

That opens the Player Properties wizard.
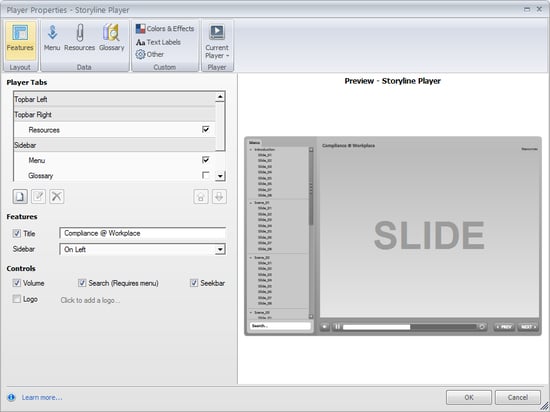
You can see that the Features tab is selected by default in the wizard and its components are displayed on the left. On the right, you can see the preview of the Player which will be updated as you make changes.
The Features tab is all about adding or removing features from the Player. Features such as Menu, the Resource tab, Title, Volume controller, Search in the menu, Timeline, Logo, and more can be either added or removed from the Player with just a click.
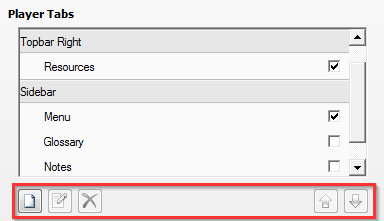
Resource, Menu, Glossary, and Notes are the default Player tabs; but with help of the buttons given just below the Players Tabs column, you can add a new tab to your Player, edit the functionality of existing tabs, or delete any of your created tabs.
While the Menu tab allows you to add, remove, or edit slide names from the menu, the Resources and Glossary tabs allow you to add additional references and definitions of certain terms respectively to your course Player.

The Colors & Effects tab lets you change the overall color scheme of the Player as well as the Player font.
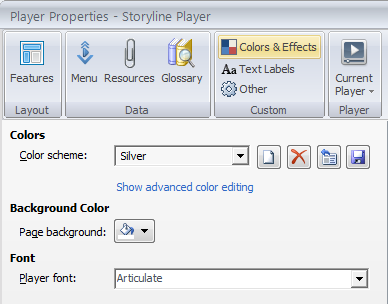
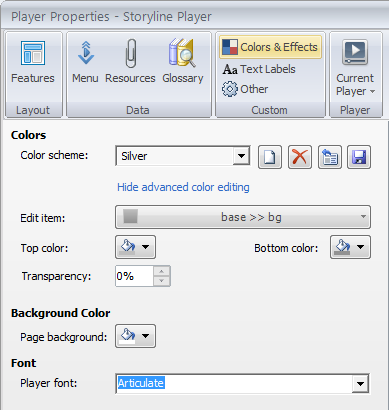
By clicking Show advanced color editing, you will be able to play around with the colors of each feature of the Player.
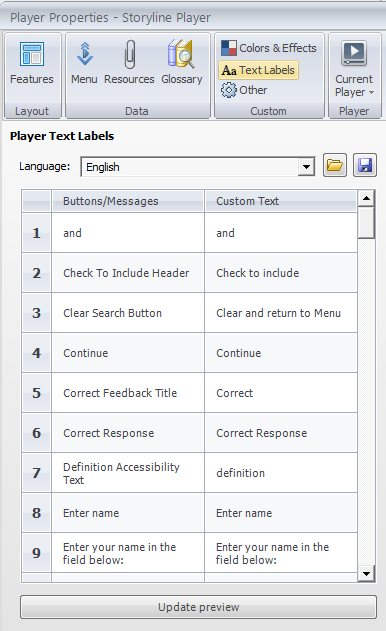
The Text Labels tab allows you to customize the text of each Player component. You can either add the text you prefer or translate them to your preferred language.
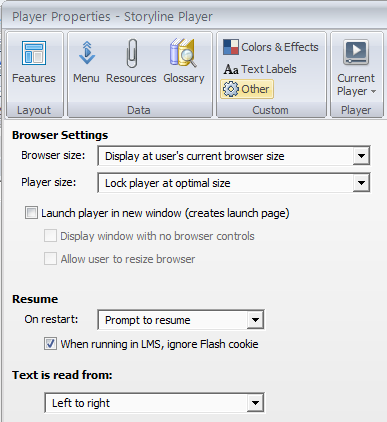
The Others tab, apart from letting you work on the browser and launch settings, also helps you choose the text alignment based on the language.
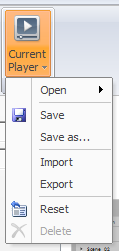
Finally, the Current Player button allows you to save your customized Player, open a saved one, import one into your existing project, export one from the current project, or reset the Player properties.
Using these Player properties, you can customize the Player to match your project needs. A few examples are shown below.
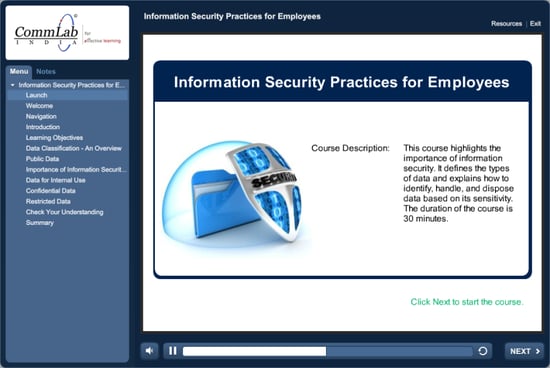
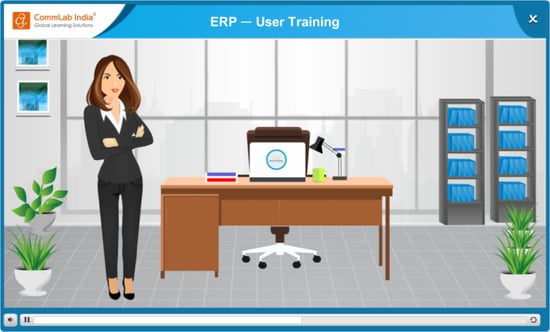
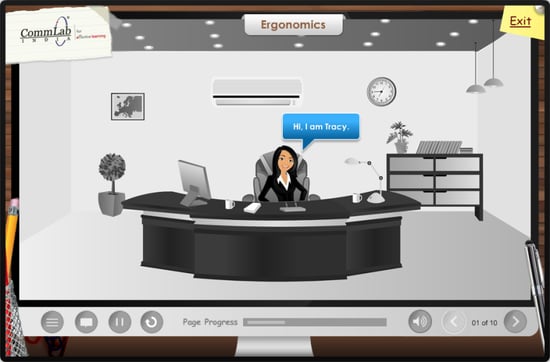
As shown in the last screenshot, you can even go ahead and disable all Player features to create your own Player with customized buttons. So what are you waiting for? Start customizing the Player to suit your needs and share with us your experience.


![Tips to Create an Intuitive LMS that Facilitates Collaborative Learning [Infographic]](https://blog.commlabindia.com/hubfs/Imported_Blog_Media/tips-to-create-intutive-lms-infographic.jpg)

