Using and Creating Articulate Storyline Templates for your E-learning Course

One of our clients wanted to give product training to their sales representatives through short eLearning modules (less than an hour) to increase their efficiency. They want their sales reps to adapt new technologies that are emerging in the healthcare industry and excel in their usage.
The client provided the content in the form of MS-Word documents. It was divided into 15 modules. We did not have to think about the flow of the content, learning objectives, grammar, parallelism, assessments, etc., as the inputs were edited and well-organized. The client did not want audio in the course, and creating a course without audio was a major challenge. All content given in the inputs has to be presented on the screen. The content was very huge and each module has to be presented in a very engaging and interactive manner.
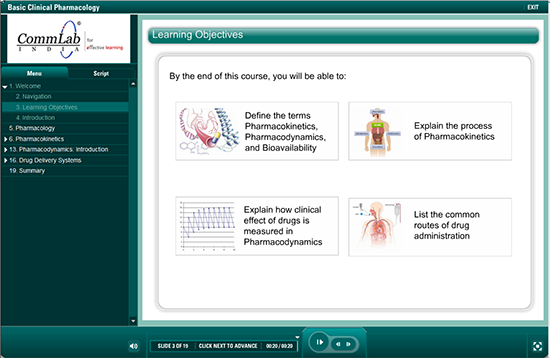
As instructional designers, we first analyzed the entire content. After the analysis, we listed out a few common topics such as scenarios, introduction and learning objectives. We also found that each topic is so huge that it cannot be fit into one screen. The biggest challenge was to suggest unique titles for each screen, if we divide a single topic into multiple screens.
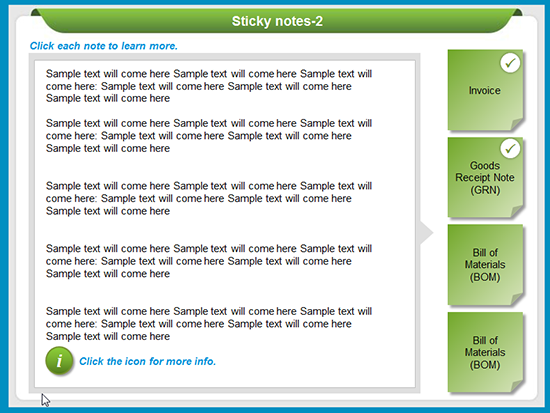
We designed templates for the common topics, and these will remain the same for all the 15 modules. Then, we started assigning Storyline templates to each topic. Wherever there is huge content, we have used interactive slides such as click on tabs, images, slideshows, etc. Articulate Storyline gives you the power to present the content on the screen in an effective way. It has many different features to create engaging content. As all these courses should be iPad compatible and we made sure that all these interactivities work well.


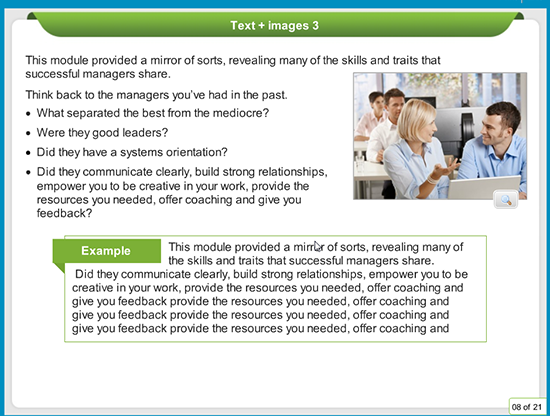
After assigning the templates to the content, we started producing them. We realized that the interactivities which we have used were filled with the content and there was no space to insert an image. We decided to sort this particular issue. We have created icons for more info and designed the example and conclusion box.


As we all know, the default zoom option doesn’t work on iPads. So, we have added the enlarged version of images in the separate layer and assigned triggers to zoom on click.
Standardizing a few templates makes it easier for the designer/developer to understand and process the content, quickly. What do you think?


