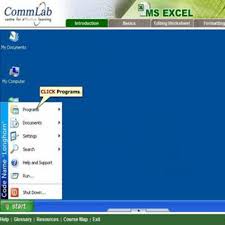
Step-by-Step Guide for Creating Simulations Using Authoring Tools

Simulations are used for software training or for helping an employee to learn about the correct procedure to accomplish a task. As a project manager for eLearning development, I noticed that developing software training through rapid eLearning can be quite challenging. Everything has to be as realistic as possible.
What is the best way to create simulations? Do you document a script before recording? Does your process change when you have 20 simulations to record? There are quite a few questions that pop up in mind.

I handled a project where my team had to develop “Watch, Try and Do” steps for simulations. Without having proper instructions/script they had to do recordings; then alter it based on the result they are aiming to achieve. This approach resulted in lot of rework and was not productive.
Hence, we had a quick meeting to relook at our screen recording process. As a result, our development team followed and restructured the entire process such that we get the desired results with minimum rework. Here is a step-by-step guideline on how you can work on screen recordings.
- Create a storyboard with sequential steps that you want to capture in a simulation.
- Have a copy of “Printed Script”with sequential steps to perform and use it while recording.
- Use a short opening line as an introduction to each simulation.
- It is always better to follow some standard set of options in your screen recording before going to record more than one video.
- Decide if you need to highlight the cursor in the videos for Click areas.
- Decide the video size.
- Make sure to clean up your desktop by removing all non-essential desktop icons. Use plain background to ensure learner’s focus.
- Avoid rapid cursor movements to avoid jerky mouse movements in the recordings.
- Give a pause for a fraction of a second over an element, and then move to the following step. This will ensure that cursor reaches the appropriate position before the next action is performed.
These are some guidelines that helped our team make simulations with minimum rework and maximum quality results. The guidelines may appear simple but taking these simple guidelines for granted can result in needless delays in your project submissions. So, share these pointers with your team developing simulations for an eLearning course.
Hope you find this blog useful, please do post your comments below.
Happy reading!


