How to Create a Crossword Puzzle with Articulate Storyline
In most e-learning courses, we see assessments in the form of multiple choice questions. But they are not a very appropriate choice to test learners as they have around a 25-50% chance to guess the correct answer. So, what can be a better way to assess learners’ comprehension?
How about a game? I mean, that would be a wonderful way, right? People love games – simple or complex doesn’t matter. All they need is an engaging game that’ll test their brains a little. So how about a crossword puzzle? This would put their brains to work and also test their comprehension of the subject.
But how do you create this game? Now that Flash will be blocked by Google, how do we develop a crossword puzzle? I think I know of a tool that would help create such games. Articulate Storyline! Let us see the steps to create a crossword puzzle in Articulate Storyline.
Step 01: Creating the Puzzle Table
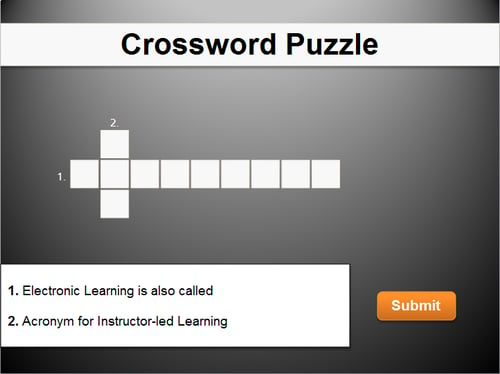
The crossword puzzle is all about guessing the correct word and entering text in the appropriate slots. So create the crossword table using small square-sized Data Entry fields as shown in the screenshot below. These blocks could be either Text Entry or Numeric Entry, based on the character they would accommodate as the answer. Also, the number of Data Entry fields depends on the number of characters your answer has. My answers ‘elearning’ and ‘ILT’ have 9 and 3 characters respectively.
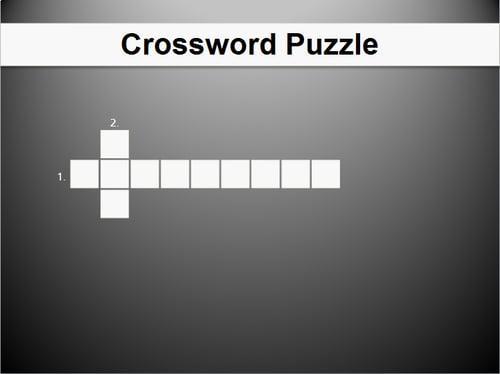
I’ve created a small table here; you can create different tables of your own size, based on the number of questions you frame.
Step 02: Creating a Submit Button
Create a button at the corner of the slide and name it Submit. This button is to submit the answers and provide feedback once the learner completes the puzzle.
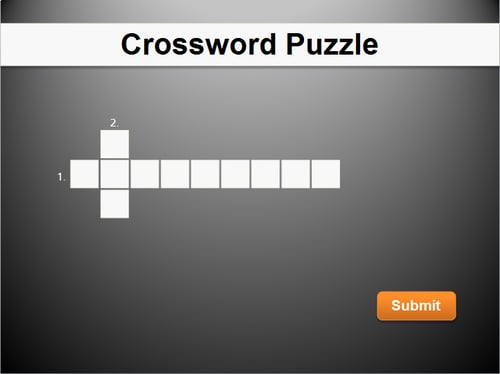
This is currently non-functional. You can add a trigger to it later.
Step 03: Creating Questions
Place your questions on the slide so that they don’t overlap the puzzle table.
Step 04: Creating Feedback Layers
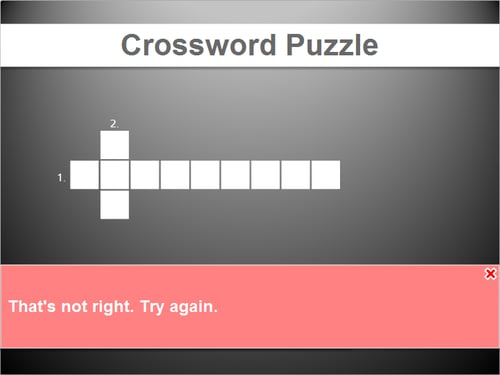
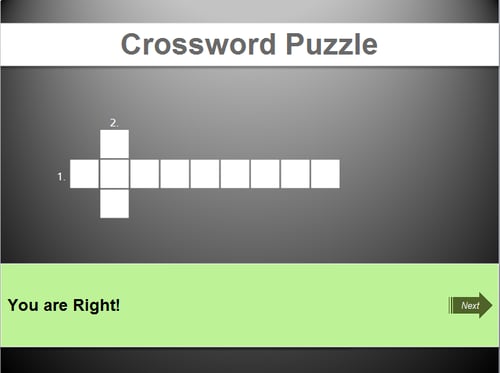
Create two layers – one to display feedback for the right answer and another to display feedback for the incorrect answer.
Step 05: Add a Trigger
Now that you have all the components in place, you can go ahead and add a trigger to make the game work.
Select the Submit button which you have created in the Base layer and add a trigger to it to display the feedback for the correct answer.
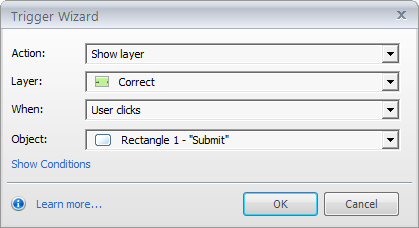
Do not close the wizard now. You have a few more things to take care of in it.
Step 06: Add Conditions
The correct layer should be displayed only when the learner fills all the slots correctly. So, you need to add a few conditions to the above trigger.
Click Show Conditions and then the green plus (+) mark to add a condition. You can find the first condition in the screenshot below. The condition is that the first text entry should contain the alphabet E — either uppercase or lower case.
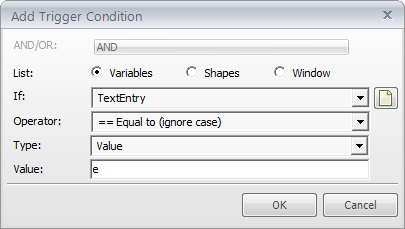
Similarly, you need to add conditions for the remaining data entry fields in the same trigger.
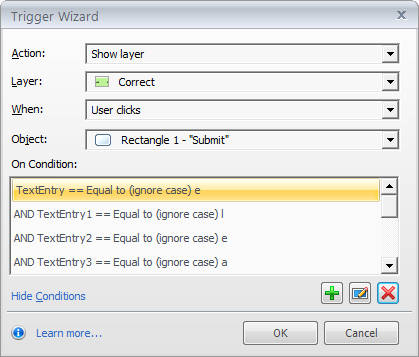
That trigger and conditions were for the correct feedback layer. Now let us repeat the same process for the incorrect feedback layer.
Step 07: Add Another Trigger
Select the Submit button again and add a trigger to it display the feedback for the incorrect answer.
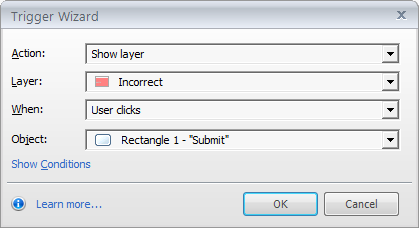
Step 08: Add Conditions
Also, add the conditions to the trigger as shown in the screenshot below.
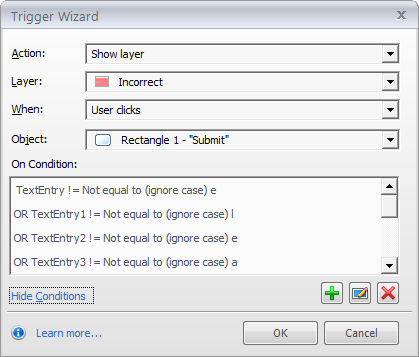
That’s it! This way you can create a crossword puzzle of the size you wish in Articulate Storyline. Simple isn’t it? This was only one way of creating a crossword puzzle with this amazing tool. In my next blog, I’ll introduce another way of creating this game with the same tool. Probably, you might find it easier than this method to develop and learners might find it even easier to play.


![Steps to Create a Crossword Puzzle in Articulate Storyline [Infographic]](https://blog.commlabindia.com/hubfs/Imported_Blog_Media/tool1.jpg)
