Button Set: Making an Object Behave like a Radio Button in Articulate Storyline
Have you ever tried to create your own radio buttons with different objects in Articulate Storyline? Or, have you at least tried to convert the objects you have on the slide to buttons or radio buttons? It’s very simple. The Button Set feature of Articulate Storyline makes it possible. The one feature of Articulate Storyline that has not hogged the limelight is the Button Set. But, this is as helpful as the other features this incredible rapid authoring tool.
Today, in this blog, we will see how the Button Set feature helps us in creating radio buttons for our eLearning course.
Button Set helps us make any object on the slide to behave like a button, or to be more precise like a radio button, so that the learner can select only one object at a time from a given set of objects. If he selects any other object in that set, then the selected object would be deselected automatically.
It works on all objects in your slide.For example, you can button set shapes, pictures, characters, screenshots, markers,captions, and even Storyline’s ready-to-use buttons; and, that’s how this feature helps us create interactivities, in only a few clicks, with what you already have on your slide.
Let us now see how to create your own radio buttons.
Step 01:
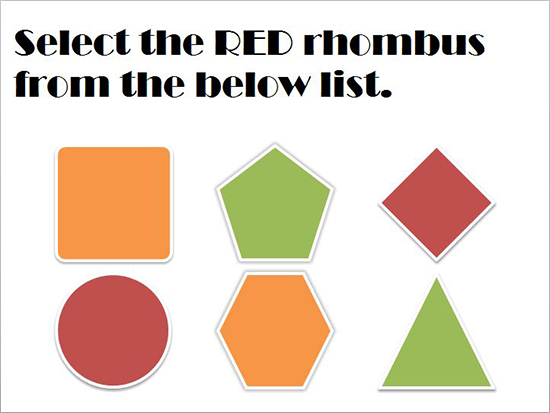
Create different shapes on a slide. (Add a question or instruction for the learner to make him perform the desired task.)
Step 02:
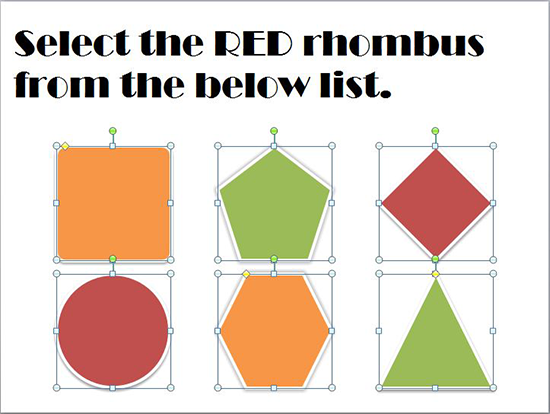
Select all the objects which you would like to convert into a button set. (I have selected all the objects on the screen, excluding the instruction textbox. The instruction specifies that the learner needs to select any one of the whole set.)
Step 03:
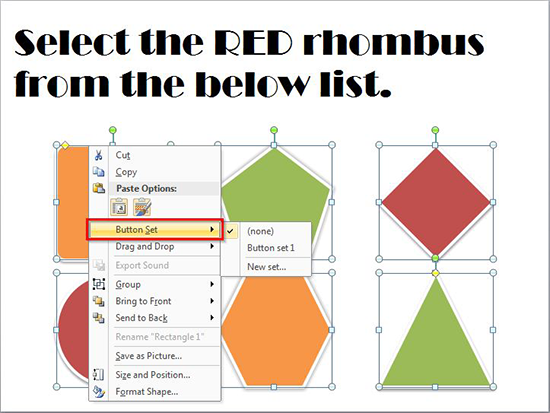
Right click on any one of the selected object and choose Button Set option from the menu.
Step 04:
Select Button set 1 which is the default name for the first button set on any slide. Or, to create your own set, you can select New set and name it.
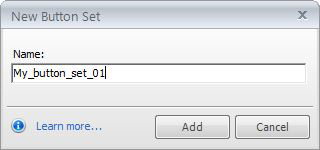
Click Add once you have entered the desired name.
Note: If you have already inserted some of the Storyline’s ready-to-use radio buttons, by default, they would be a part of Button set 1. So, if you want the objects to be in a separate set, it would be better to select the option New set, so that you can have as many button sets as you like on a single slide.
This is how the sates of an object look after you button set it. You can even customize them as per your requirements.
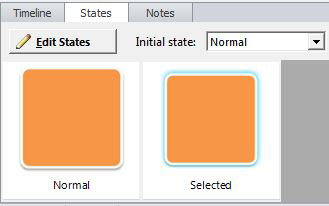
That’s it! This is how we can make objects behave like radio buttons in Articulate Storyline. Hope this blog is helpful. Please share your thoughts.
For more such useful tips on eLearning design and development, stay tuned to my blogs.


