Adding and Removing EXIT Button in E-learning Course Using Articulate Storyline

Articulate Storyline has made the lives of GUI (Graphical User Interface) designers, easy by providing a customizable GUI. It has inbuilt next/previous buttons, resource/glossary, menu, notes, etc. But, it does not provide an Exit button. So, today, we will see how to add an exit button to a course in Articulate Storyline.
The steps to add an exit button in Articulate Storyline are as follows.
Step 01:
Click the Player Properties button in the Home tab.

Step 02:
In the Player Properties window’s Player Tabs section, click the Add button.
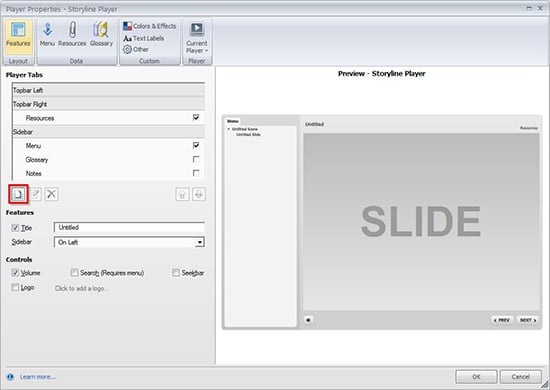
A trigger wizard will appear.
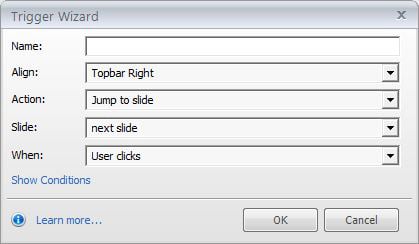
Step 03:
You can add the name for the button in the Name field. For example Close or Exit.
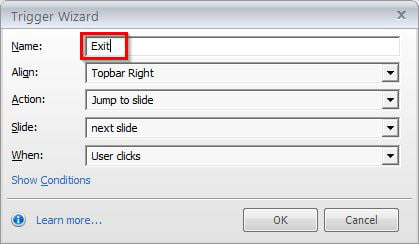
Step 04:
Choose the place on the player for your Exit button from the Align drop-down list. We usually have it on the top right corner of the player.
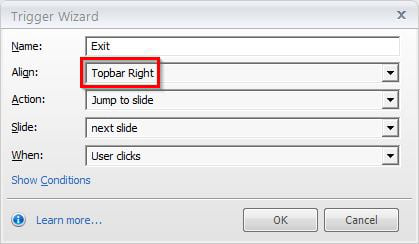
Step 05:
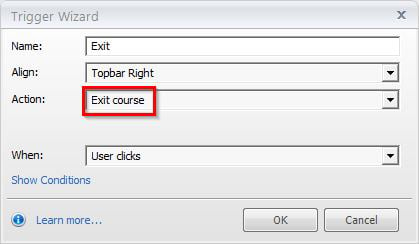
Choose the Action for the button as Exit Course.
Step 06:
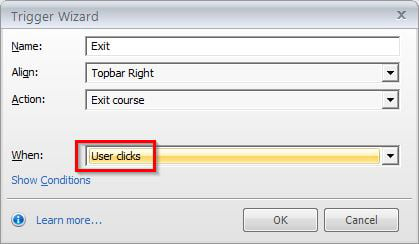
This trigger must be executed when the user clicks the Exit button. So, select User Clicks from the When drop-down list.
Click OK both in the trigger wizard and the Player Properties window when you set all the options. You can now preview or publish the course and check for the Exit button and its functionality.
Removing the Exit button is quite simple.
Step 01:
Click the Player Properties button in the Home tab.

Step 02:
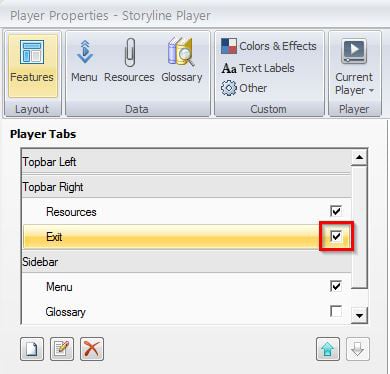
In the Player Properties window’s Player Tabs section, you can see all the existing buttons. You have to uncheck Exit.
Then, click OK.
You can again preview or publish the course and check for the Exit button and its functionality.
This is how we add customized GUI buttons. For more information on eLearning design and development, stay tuned to my blogs.


![Essential Tips to Create an Effective Style Guide [Infographic]](https://blog.commlabindia.com/hubfs/Imported_Blog_Media/create-effective-style-guide-infographic.jpg)