Creating Navigation Using Checkboxes in Articulate Storyline

Generally, navigation in online courses can be done through the Previous and Next buttons. We can also add images to make the course attractive and interactive. Similarly, we can develop navigation using checkboxes. This post shares how to do this in Articulate Storyline.
We recently developed a course for our client; the course contains information related to 4 countries. We provided checkboxes to let learners select the country they want to learn about.
Here are the steps involved in meeting this requirement.
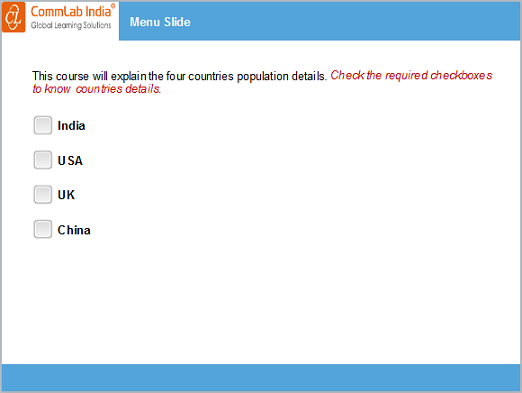
Step 1: Insert a slide in Storyline with the countries and checkboxes (as shown in the screenshot below).
Step 2: Create a variable Checkbox_india for the first checkbox in the slide, with the initial value False.
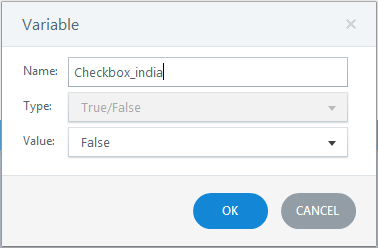
In the same way create 3 variables Checkbox_USA, Checkbox_UK, and Checkbox_china for the other checkboxes respectively.
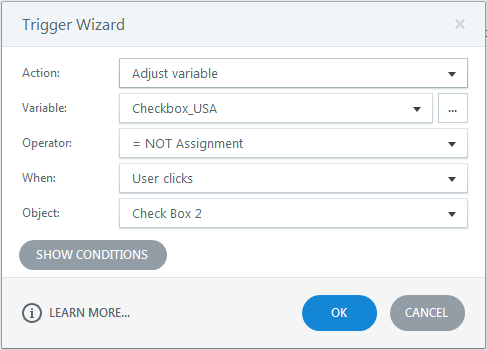
Step 3: Toggle the variable Checkbox_india, when a user clicks Check Box 1.
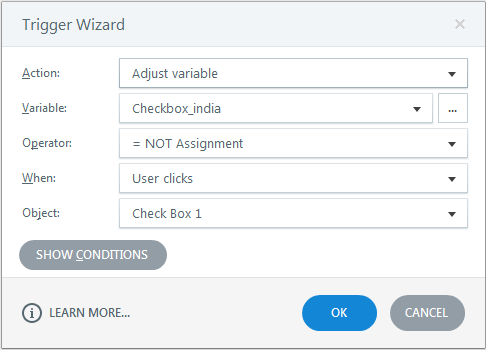
Repeat this step for the remaining variables.
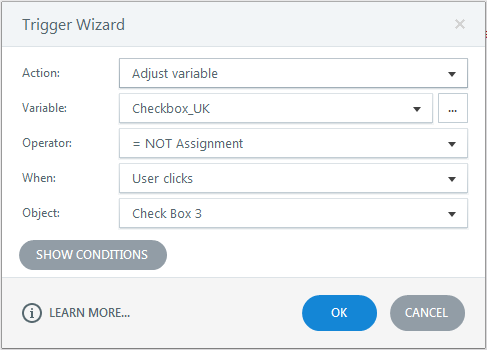
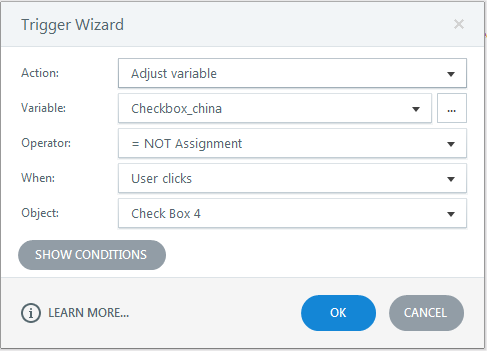
Step 4: Create branching scenes for each country.
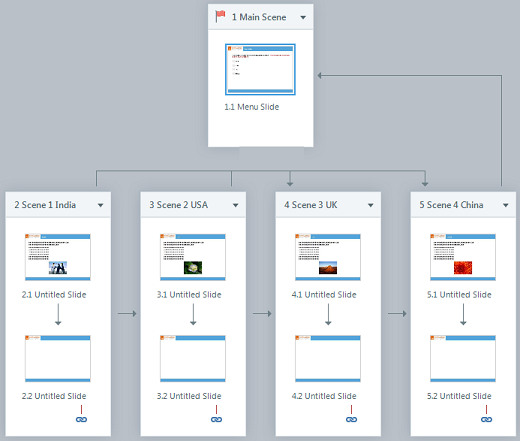
Step 5: Add triggers to the Next button in the main slide.
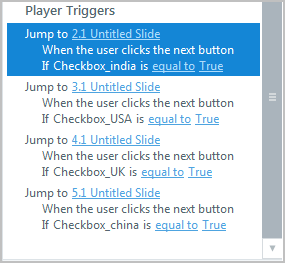
Step 6: In the same way, add triggers to the Next buttons in all branching slides.
India branching slide:
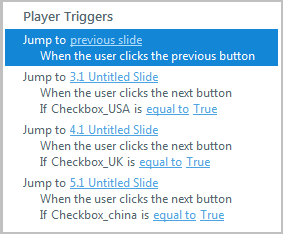
USA branching slide:
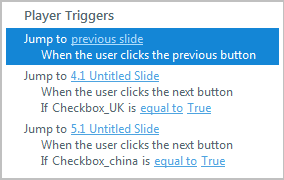
UK branching slide:
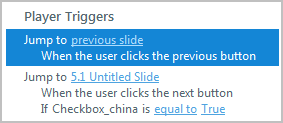
Here, China branching slide is the last slide in the course.
Preview or publish the course to view the output.
In this way, we can create navigation using checkboxes in Articulate Storyline. Hope you found this post useful. Do share your thoughts.


