Adobe Captivate – The Ideal Systems Training Development Tool

Each subject is learned in a unique way. For example, a language is learned well by speaking and practicing, and science by observations and validation. Similarly, executing tasks on a software application is learned well by observing the procedures and trying them again and again. Doing this on a live software application might lead to undesired consequences. For such a scenario, software training simulations can be a solution.
What is a software training simulation?
In online training, software training simulations provide learners’ opportunities to observe the procedures performed on the software and try them in a risk-free environment.
Now that you know what a software training simulation is, you must be wondering how to develop them, to train your employees effectively on your new software. Adobe Captivate is the solution for this.
Here are the steps to create software simulations with Adobe Captivate.
Step 01
Install the latest version of Adobe Captivate in your system and open it (the current version is Adobe Captivate 9).
Step 02
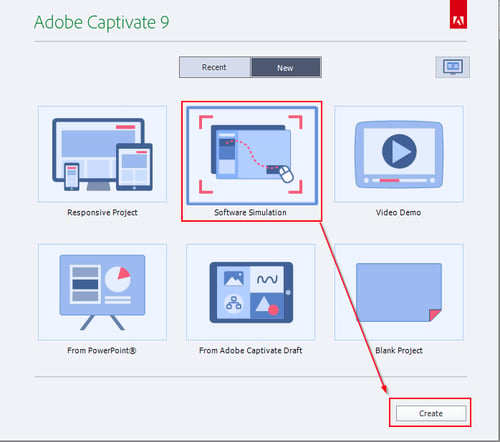
Select the “Software Simulation” icon on the Welcome screen and click the Create button. You can also simply double-click the icon.
Step 03
A window will appear where you will have to make all the necessary settings before you begin recording your screen.
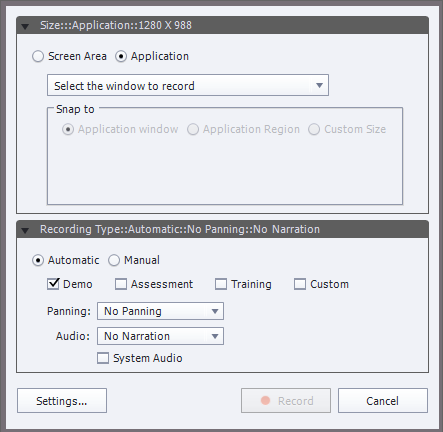
Once you are done tuning the settings, click the Record button.
Three… two… one… and the screen starts recording. Perform the function you want to simulate.
Step 04
Once you are done capturing the desired actions, press the End key on the keyboard to stop the recording.

Once you stop the recording, Adobe Captivate will process it into individual screens where each mouse click will be one screen. You will see it as a filmstrip on the left of your interface.
Step 05
In the timeline, you will have elements such as the screen image, instruction callouts, mouse movement animations, and a click box.You can edit these elements as per your requirements and adjust the timing in the timeline.

Step 06
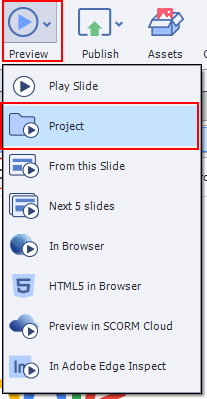
Now that you are done with all the recording and tweaking, it’s time to preview it. For that, simply click the Preview icon above the application window and select Project from the list that drops down.
Step 07
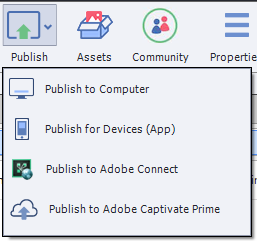
After preview, it’s time to publish the simulation. You can publish the simulation to the SWF and HTML formats, together or individually. You can also publish to a zipped version, where you get a duplicate of the output in a compressed format.
Here is a sample software simulation that has been developed using Adobe Captivate 9: Scheduling Sales Meeting in MS Outlook.


