How to Customize and Reuse the Designed Player Template in Articulate Storyline?
This blog post shares 7 steps to Create and Reuse the customized player template in Articulate Storyline.

Articulate Storyline is adored by many eLearning developers round the globe for the excellent features it offers. Among them, one of the interesting feature is that, you can create your own customized player template. Player template is where you can adjust colors for the interface for your course. Once you create and save your player template, you can use it multiple times.
Here I am going to explain 7 steps to Create and Reuse the customized player template in Articulate Storyline.
1. Create New Storyline Project
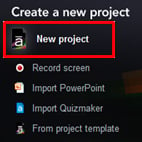
Open Articulate Storyline authoring tool and select New project or use the shortcut Key Ctrl + N.
2. Select Player button from the Home Menu
Go to the Home Menu and select Player button to go to the Player Properties.

3. Select Colors and Effects from Player Properties
In the player properties window, select Colors & Effects feature.

4. Create New Color scheme and Select Show advance color setting
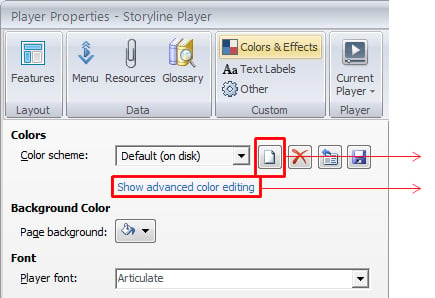
You can see all the properties of Colors & Effects in below screen shot. To create your own color scheme click on the New Color Scheme icon.
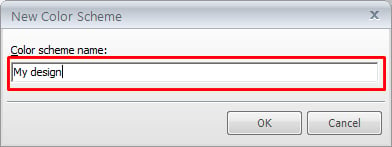
The New Color Scheme window opens . Name the scheme for easy identification and click OK.
After naming your Scheme, click show advanced color editing option to adjust the colors for your player template.
5. Adjust colors in editing color scheme palate
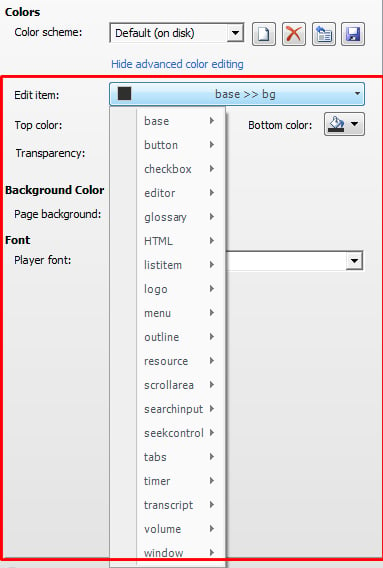
After a clicking Show advanced color editing option, you can see all the below options are activated where you can change the Edit item, Top color, Transparency, Background color & Font.
 6. Save the template
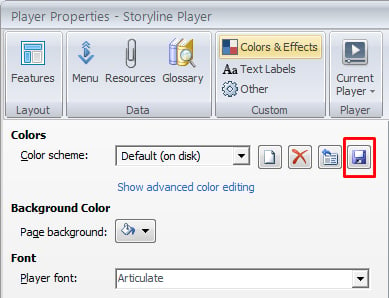
After making the required changes to the template, save it by Clicking the Save icon. (highlighted in the below screen shot)
7. Export and Import the designed template
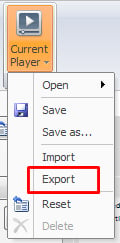
In order to export the created template and to reuse it, go to the current player and click the Export option.
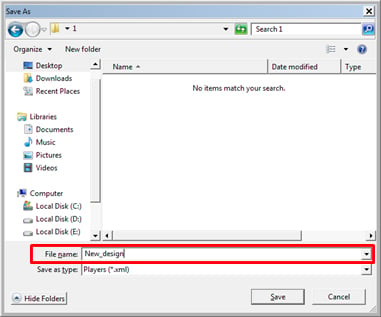
The Save As window appears. Name the file for easy identification. The exported file is saved in .xml format.
In order to import the created template in other PC, open Current Player in Player Properties and select import option as shown below and access the destination where the .xml file is saved.
Select the generated .xml file and click Open.
Here are some of the examples of courses which we developed using customized Player Templates.
Example 1:

Example 2:

Hope this blog was helpful to you. Please do share your thoughts!


