Steps to Create Click on Tabs Interactivity in Lectora 16
This blog post shares how to create a click on tab interactivity in Lectora 16 using shapes and actions.

Since its launch, Lectora 16 has gained a lot of following among e-learning developers. This can undoubtedly be attributed to its wonderful features supporting responsive design. To show you what it’s like to work on Lectora 16, I will show you how to create a simple Click on Tabs interactivity. Using similar steps, you can create other interactivities such as click on Numbers, Images, Hotspots, FAQs, and slide shows.
Now, I’m going to create a click on tab interactivity, using shapes and actions. Let us see how we do that.
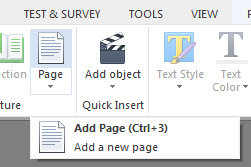
Add a new Page (Ctrl+3).
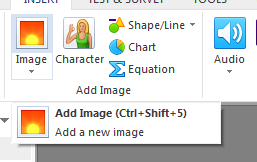
Design the slide with shapes or insert images (Ctrl+Shift+5) designed using Adobe Photoshop.
You need to design the Normal, Down, and Hover states in Photoshop, save the images in .jpg format, and rename the images as tab1-n (based on your requirement) for easy identification. Naming the objects is very important in Lectora since if they are not named properly, they may replace the original objects.
You can insert the rollover images from the Properties menu tile.
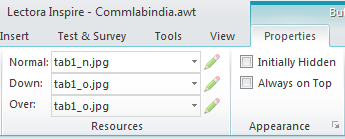
Here, for identification I’ve named them Tab Content 1, Tab Content 2.
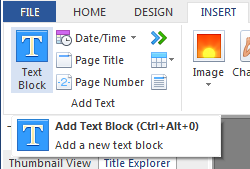
Add the related text (Ctrl+Alt+0) for each tab; this text will be displayed when the learner clicks on the particular tab.
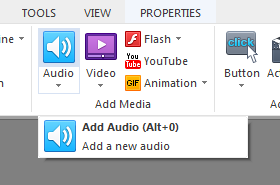
Insert audio files (Alt+0) if you have, for individual tabs.
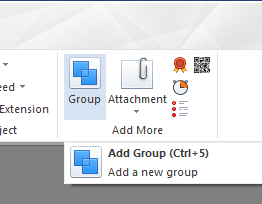
Group (Ctrl+5) all the objects of tab1 and align them.
You can now add text to the tab2 (Tab Content 2), by duplicating tab1 and changing the text. In same way, you can duplicate and change text for the rest of the tabs. Hide the objects of all the tabs.
Click the rectangle eye icon in the Title Explorer to make the groped objects invisible. Or you can uncheck the box ‘Initially Hidden’ in the Properties panel. The objects will not be displayed unless the learner clicks a particular tab.
![]()
Before assigning actions to tabs, we need to rename the group text as Tab1, Tab2 for identification. We also need basic information about the objects to be shown/hidden, which audio to play, when to stop audio, and so on.
Let’s now see how to assign actions to tabs.
You can assign a single action or multiple actions to a button.
Select the Tab content 1 button, go to Action menu, and click the Add Action (Ctrl+4) tab.
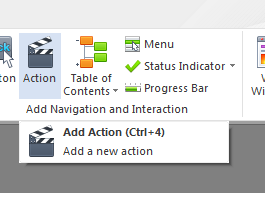
In the Action menu on the top left, we need to assign the Trigger, Action, and Target to Tab content 1 button.
Trigger:
Click the grey triangle and you will see the Page, Object, and Mouse (Select) options in the dropdown list. Here we need to select Mouse Click; the function will work only when learner left clicks the Mouse.
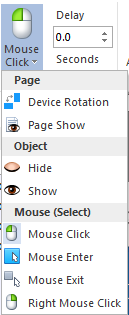
Action: Upon clicking the small triangle, you can see Navigation, Objects, Commands, Documents, Media, and Variables, and Questions, Tests & Surveys options.
Select the Show action from Objects.

Target: Finally, we need to assign the target. Click on the target column where you can see all the objects; select Tab1 from the list.

We also need to assign the Hide action to same button.
Create a new action (Ctrl+4) to hide the other tabs.
On Mouse Click, Hide Tab 2, Tab 3, Tab 4, and Tab 5.

So till now we have created 5 actions – one Show action and 4 Hide actions.
If we have audio in each tab, we need to create 5 more actions to the same Tab content 1 button.
Create new actions (Ctrl+4) to play and stop the audio.
Play:
On Mouse Click, Play Tab 1.

Stop:
On Mouse Click, Stop Tab 2, Tab 3, Tab 4, and Tab 5.

We are done with creating actions for Tab content 1 button.
Now, let’s assign actions for Tab content 2 button.
Copy the actions assigned to Tab content 1 button and paste for Tab content 2 button.
We only need to change the targets now.
For Objects:
On Mouse Click, Show Tab 2.
On Mouse Click, Hide Tab 1, Tab 3, Tab 4, and Tab 5.
For Audios:
On Mouse Click, Play Tab 2.
On Mouse Click, Stop Tab 1, Tab 3, Tab 4, and Tab 5.
Copy and paste the same actions for the remaining buttons (Tab content 3, Tab content 4, Tab content 5) and change only the targets.
The buttons have been activated. On clicking on these buttons, the learner will be able to access the respective content.
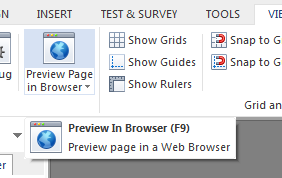
Now, Preview (F9) the slide to check the functionality.
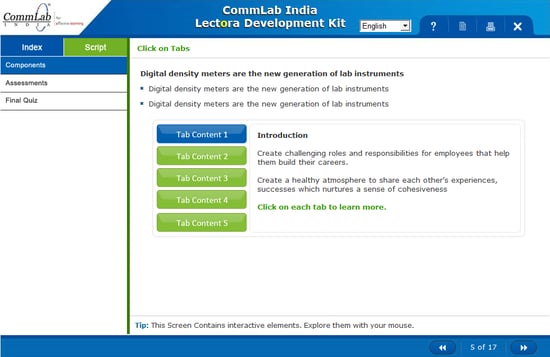
This is the way to create a click on tab interactivity in Lectora 16. If you are looking to know more about this wonderful tool, check out this interview.


