Insert smart shapes, edit and convert it to button in captivate8. Know how!
Captivate 8 has been keeping people on toes with its out-of-the box features. Renowned for responsive e-learning, this tool can reduce your time and effort in creating customized buttons. It has improved the Smart shapes by adding new features such as normal, rollover and down states. This feature was not available in earlier versions of Captivate. Customized buttons were created in Photoshop and imported to Captivate. But now it is simplified in Captivate 8. In this blog, I’m going to explain how to insert a smart shape, edit and convert it to button.
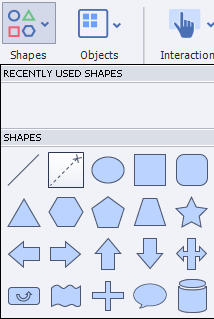
1. Open Captivate 8 and insert any shape from the shapes menu. Double click on a particular shape.

2. You can see its properties in the Properties window. Select one of the basic style according to your requirement. You can easily switch to any other style from the Basic shapes list by selecting the specific style.

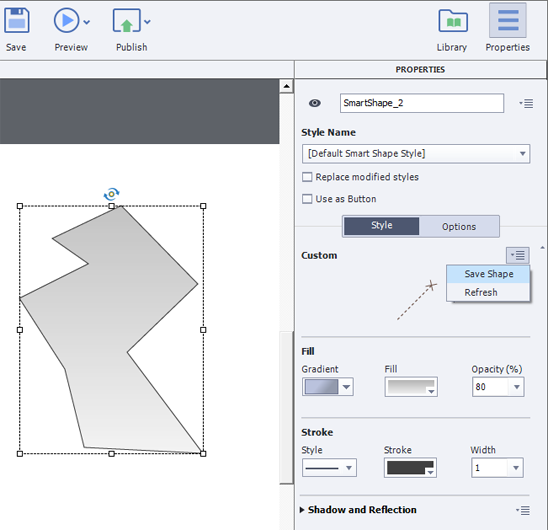
3. You can create your own customized shape by using the Polygon tool and create your own custom shape.
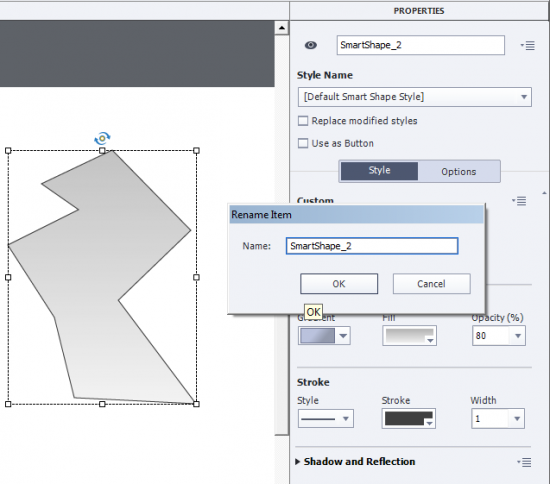
4. You can save your own created custom shape for further use by saving it with some specific name.
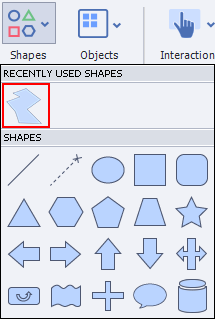
5. Whatever shape you used or created recently, will open under RECENTLY USED SHAPES.
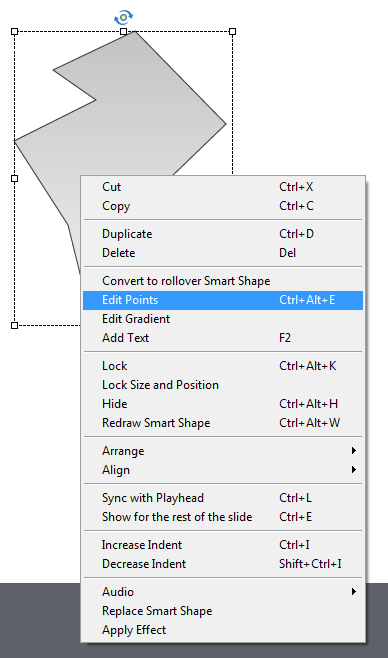
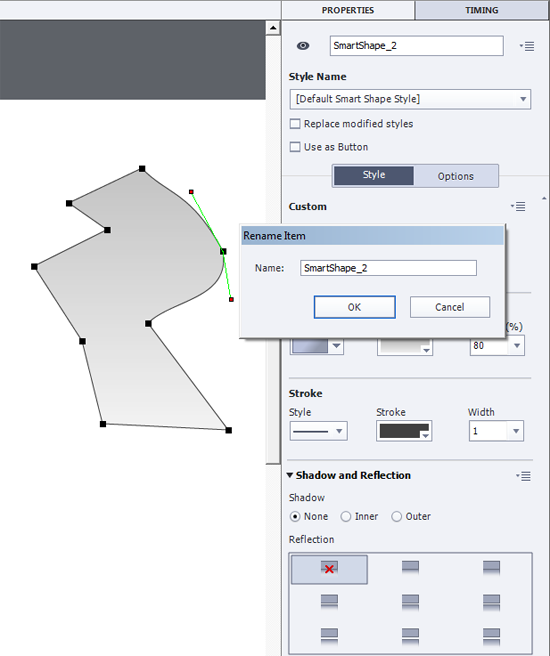
6. If you want to edit the shape, select the shape and right click on the shape and select the Edit points option.
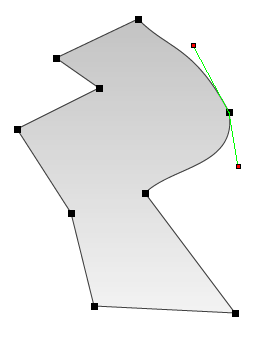
7. You can change the shape by selecting the black points. By adjusting the two handles that are green in color with red dot points you can change the shape from straight line to curves.
8. After the changes are done, you can save the particular shape
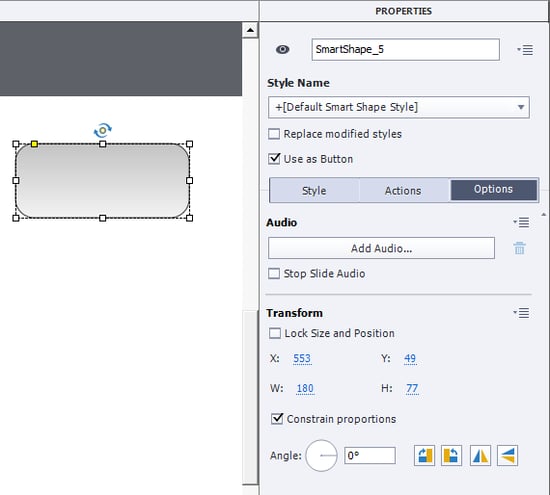
Select the created shape or any new shape. Check the Use as Button in the Properties Pannel. It allows you to convert the smart shape into a button.
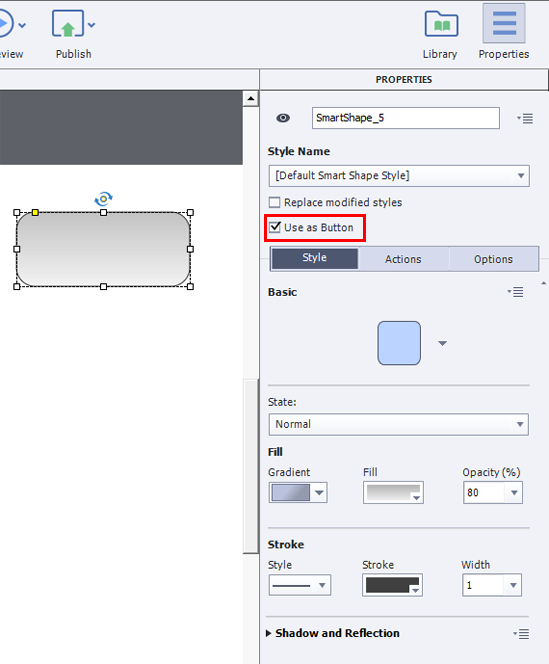
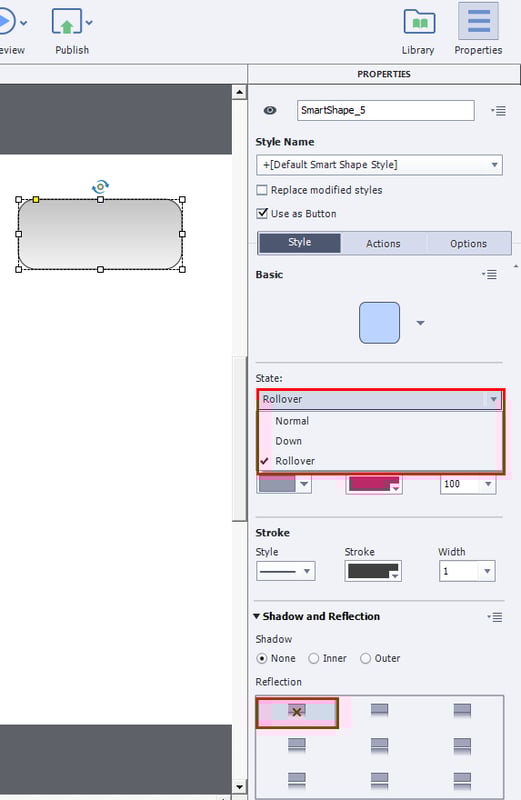
This is a new feature that is present in Captivate 8. After converting the smart shape as a button, you can change the colors of (Normal, Down and Rollover) button states.
You can even add shadow and reflection effects to the button.
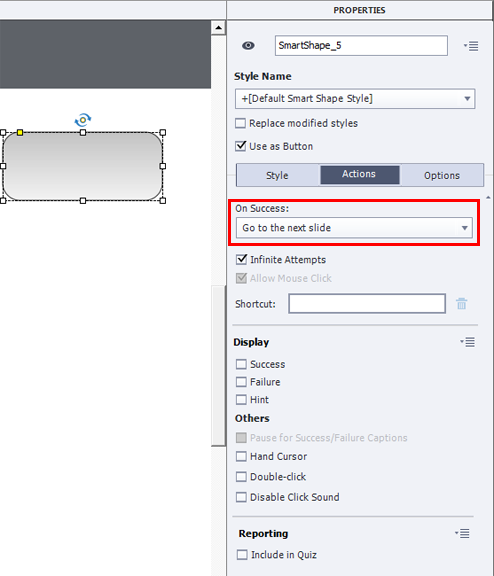
You can set actions by clicking on the Actions panel.
In Options, you can add the Audio or Transform the button as shown below.
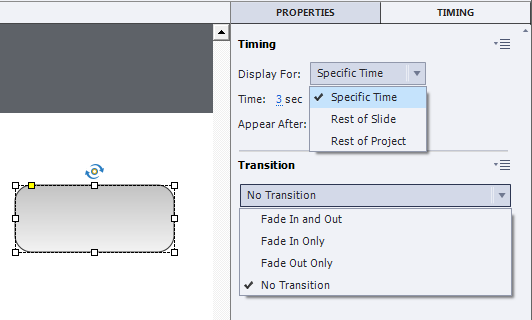
You can set TIMING and Transition to the button.
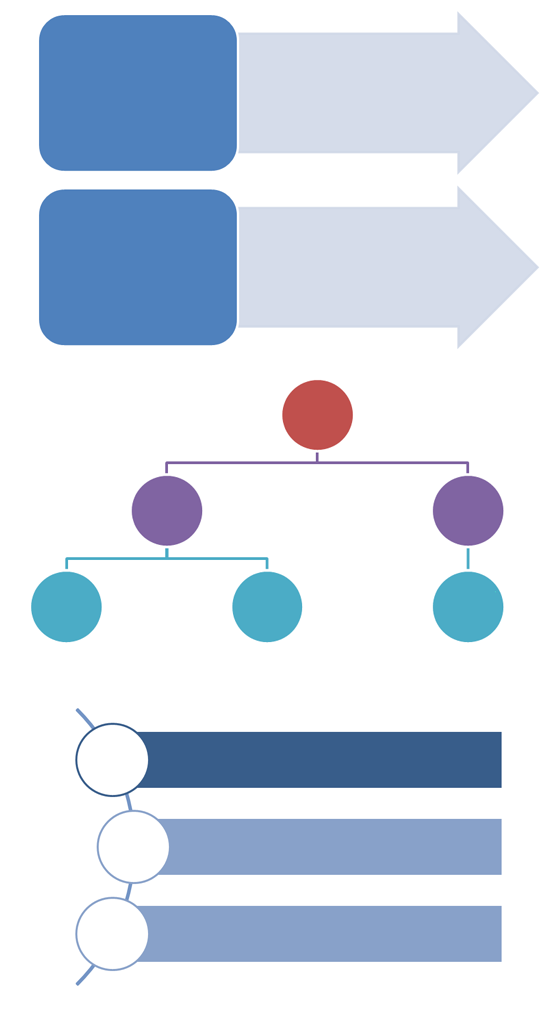
By using shapes you can create interesting visual arts as shown below.
Hope this blog helped you in understanding how to insert smart shapes, edit, convert them to buttons and add (Normal, rollover and down) states and improve your visual art with the help of a smart shape in Captivate 8.