This blog shares about how to customize scrolling panel in eLearning course using Articulate Storyline.
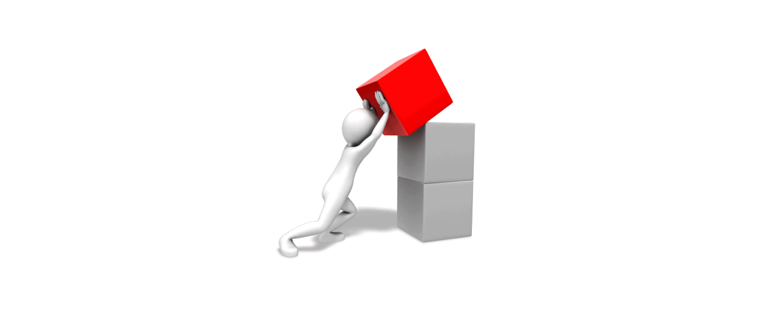
Recently, a client asked us to add a message from its CEO, which included an image, to all courses implemented by them. The content (message) was too heavy to fit on the screen, and the only option is to add a scrolling panel, so that learners can scroll to read the content.
The client accepted the scrolling option, but asked us to match the color of the scrolling panel with the interface.
We don’t have a default option in Articulate Storyline, for this. The only thing we can do is customize.
In this post, I would like to share the steps to add a custom scrolling panel for which you can add the required color to match with the interface (GUI).
Step 1:
Create your eLearning course, as per the requirement.

Step 2:
Develop a HTML page with your contentand a scrolling object. Format itusing CSS, as shown in the screenshot below.
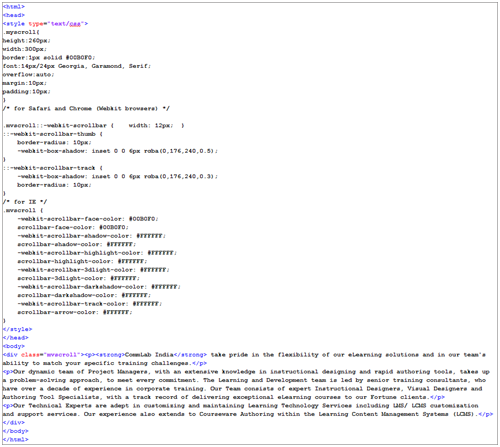
Make sure to save the HTML file as index.html.
Step 3:
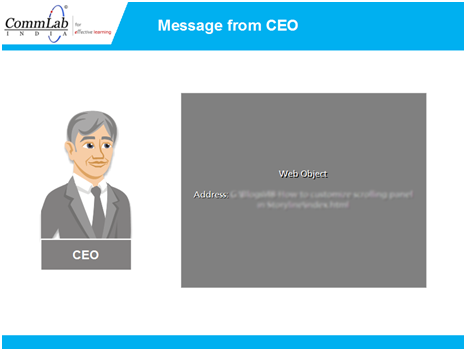
Go to the Insert tab and select theWeb Object option to insert index.html file.

Step 4:
In the window opened, paste the location of index.html file. You can even browse for its location.

Step 5:
Adjust the size and position ofthe Web Object on the screen. You can even placea portion of the Web Object off the stage. However, the output remains the same.
Step 6:
Publish the eLearning course and check the output.
For WebKit browsers (Chrome and Safari)

For IE

These are the 6 simple steps to add custom scrollbars in Articulate Storyline.
Hope you find this post useful. Do share your views.