Captivate 9 Is in The Store, What’s New – Part 2
This blog post lists some of the new features in the latest version of Adobe Captivate.

In my previous blog, I shared about the features that have been upgraded in the latest version of Adobe Captivate 9. Here, let us see the new features that that have been included in the new version.
1. Adobe Captivate Draft
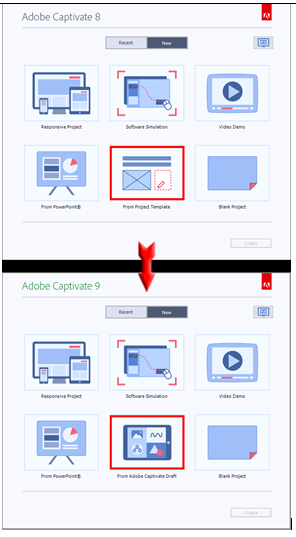
This new feature allows us to import Storyboards created using the Adobe Captivate Draft app. This app can be installed in iPads and helps create Storyboards anywhere, anytime. Using this app, you can add content, question slides, images, videos, etc. quickly.
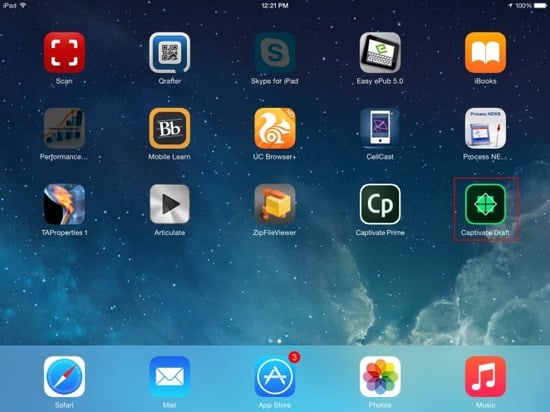
Let us see how to use it.
Click the Captivate Draft icon. The Adobe Captivate Draft window appears.
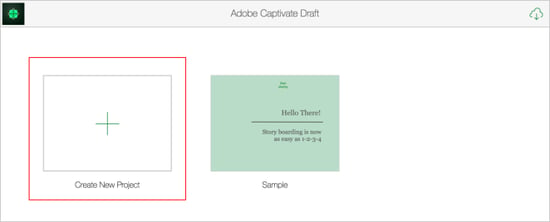
Click Create New Project where you can see the Interface area.
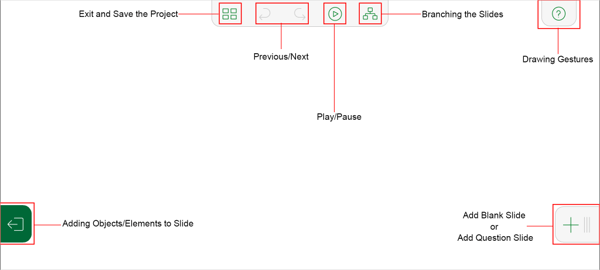
We can add objects to slides with the help of Icons or by Drawing Gestures (shortcuts).
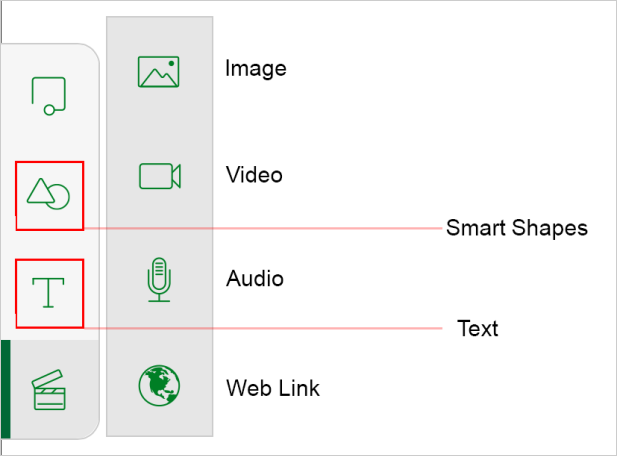
If you want to add an Image, draw ‘x’ using your finger.
To add a video, draw ‘>’.
Similarly, if you want to add text, draw a small vertical irregular line (squiggle).
Refer this screenshot for more shortcuts.
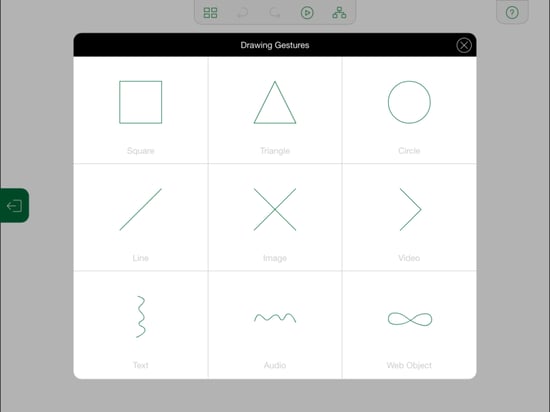
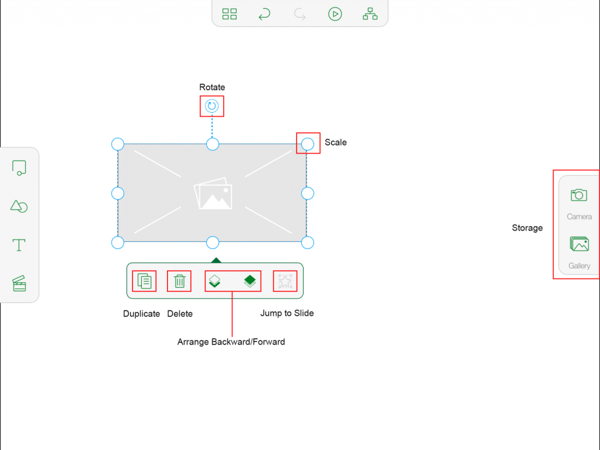
Image Properties
Refer the image given below for a comprehensive list of image properties.
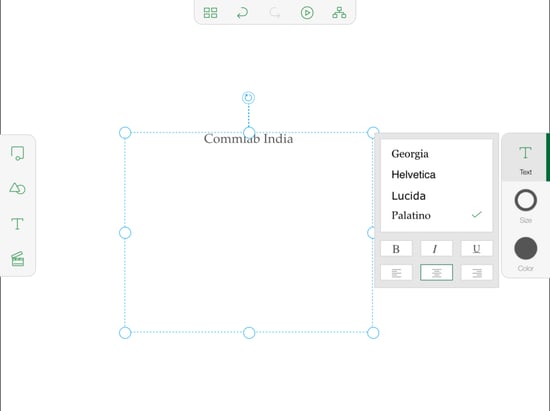
Text properties
These are the available text properties: Font style, Bold, Italic, Underline and Text Alignment.
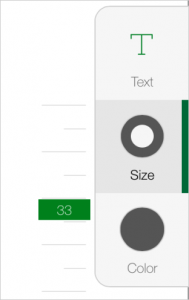
We can increase the font size to a maximum of 60Px and decrease to a minimum of 10Px.
The smartshape stroke size can be increased to a maximum of 25Px and decreased to a minimum of 1Px.
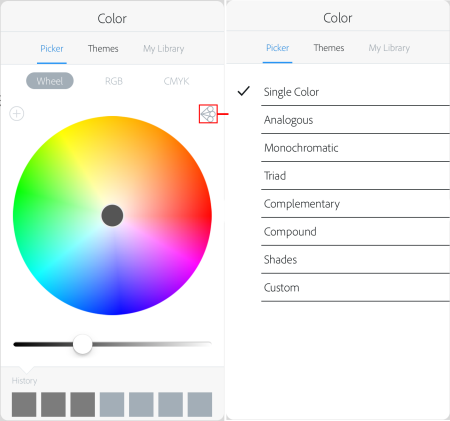
You can pick the desired color from the color wheel.
There are nearly 500 color themes that can be accessed.
You can also pick the color from images.
Add Question Slide
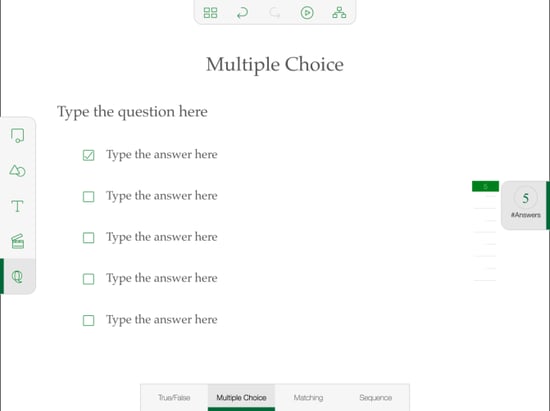
We can add True/False, Multiple Choice, Matching, and Sequence questions.
The maximum number of options is 5 and minimum 2 for each slide.
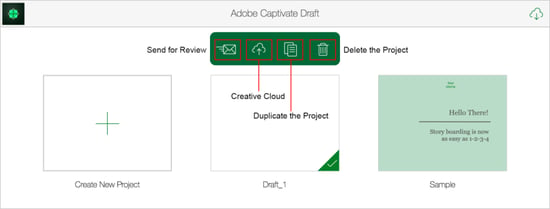
When you give the course for review, the reviewers (SMEs) can review the course and comment on screen easily.
You can easily import a Captivate Draft iPad project from your desktop using the Creative cloud option.
2. Assets:
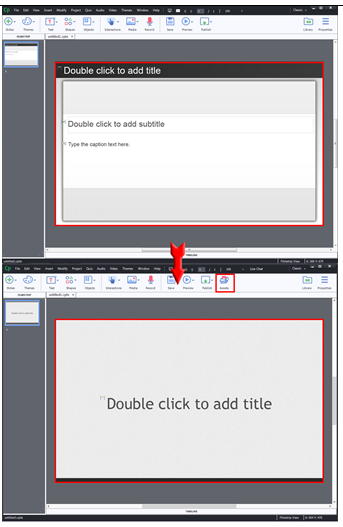
In Captivate 8, adding games, interactions or layouts was done with the help of smartshapes and images. But in Captivate 9, we can access the default readymade designs or layouts. By clicking the Assets toolbar in the Menu, you can access more than 25000 assets (free of cost) by subscribing to Adobe Captivate 9.
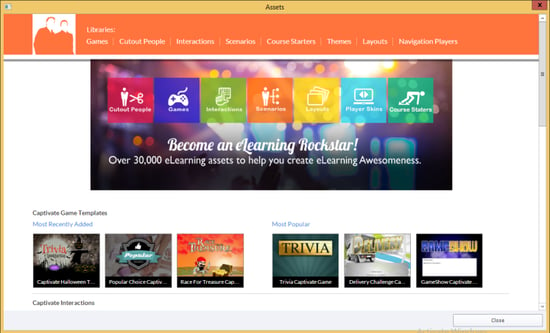
You can easily download not only characters but also games, interactivities, scenarios, course starters, themes, layouts, navigation players, etc. You can also download responsive or non-responsive assets.
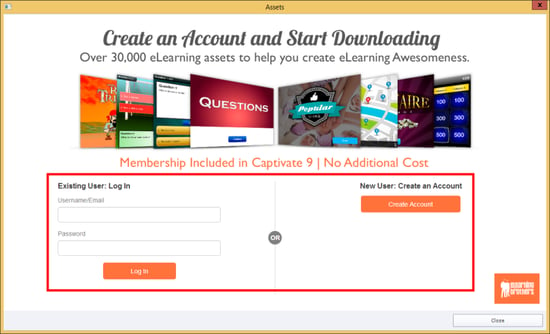
If you are an existing user, you need to login or create a new account.
3. Knowledge Check Slide:
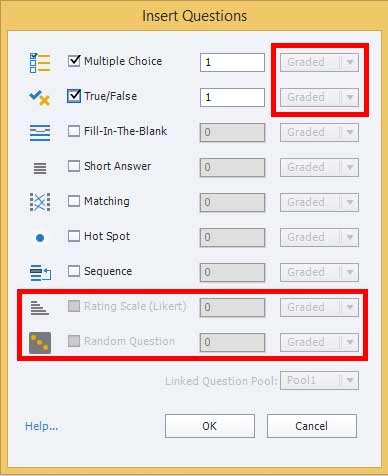
The Knowledge Check slide helps you add formative assessments where you do not want to track the learners’ responses.
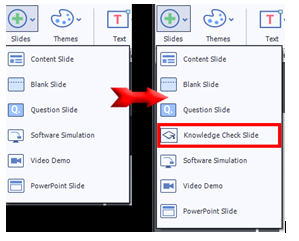
For example, we have a course with 5 modules or topics. There are 2 formative assessment questions after each module. At the end, we have a final quiz (summative) consisting of 10 questions. But our requirement is that only the final quiz questions should be tracked (the formative assessment questions shouldn’t be tracked). But by default, in Captivate, both formative and summative questions are tracked. We can resolve this issue by customization. But in Captivate 9, using the Knowledge Check slide helps solve this issue without any effort or customizing the course.
You cannot use this as a graded pre-test survey, you can only use the Knowledge Check slide in these formats: multiple choice, true/false, fill-in-the-blank, short answer, matching, hotspot, and sequence. For each type of question, you can add a maximum of 100 questions.
4. Multi States
With this state option, we can create interactions such as click on tabs, images, numbers, slideshow, FAQs, etc. We can give actions quickly and it will reduce our efforts and the number of layers in the timeline. We can use states for any object such as an image, smartshape, button, text, audio, or video.
Let see how to use this states option.
Select the object.
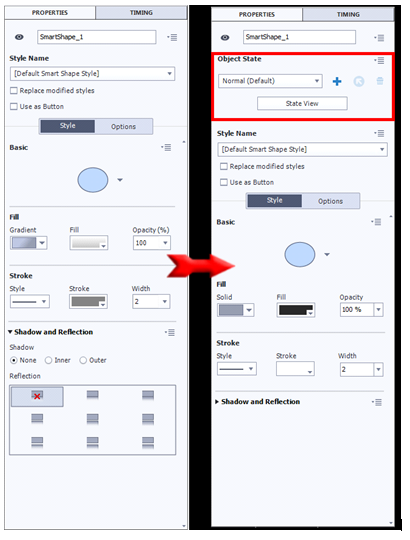
Go to the Properties panel where you can see the Object State.
Click the Plus icon to add a new state.
You can view all states by clicking the state view button.
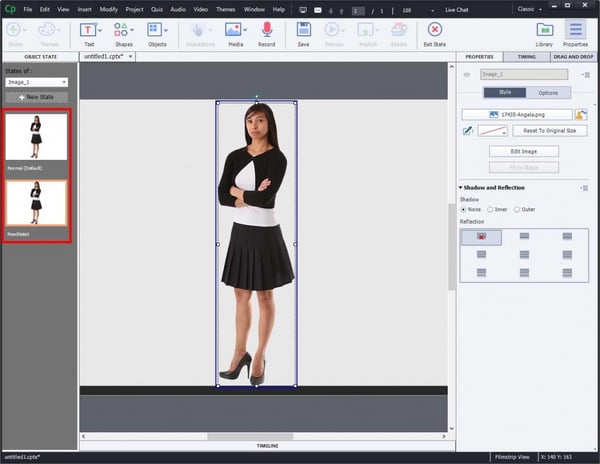
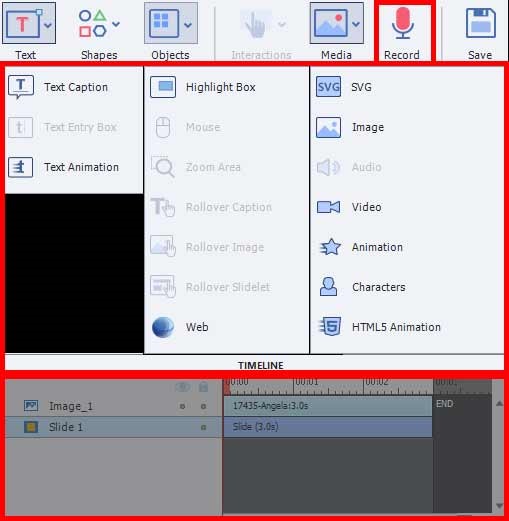
In state view, you will be able to access a few components such as text, shapes, objects, media, and so on. The remaining components will be disabled.
![]()
In states, we can’t add audio to a slide, but we can add audio to other objects such as smartshape, text, and images. Also, we don’t have layers option in the states (see the screenshot given below).
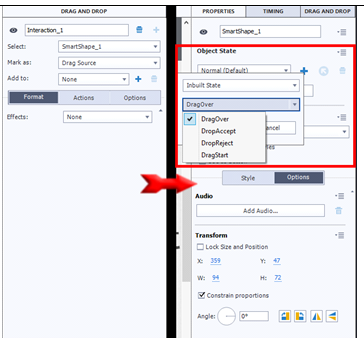
You can also use the multi-state option for drag and drop. You can easily change the state of drag over objects.
For the Drop target, we can add DragOver, DropAccept, DropReject, DropCorrect, and DropIncorrect.
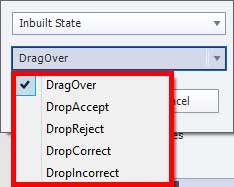
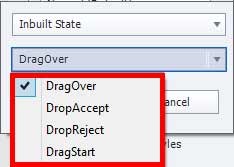
For Drop source, we can add DragOver, DropAccept, DropReject, and DragStart.
5. Actions
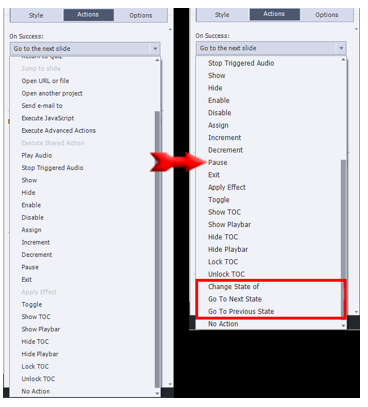
- Change the state of
- Go to previous state
- Go to next state
These actions are for the states of objects using which, we can create interactions such as click on tabs, images, numbers, slideshow and so on. It’s very easy to use these actions.
- Delay next action by
We can delay the advance actions of a variable or literal by the specified number of seconds, i.e, you can delay the objects.
6. Geo Location
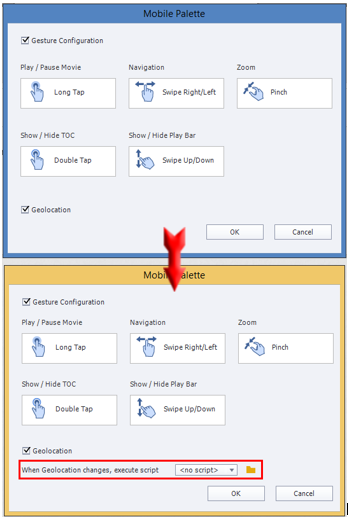
In this upgraded geo location feature, when you want to preview a course developed using the geo location feature (the course automatically opens in the respective local language depending on the location it is accessed in), there is an option to Emulate Geo-location, where you can change the location and check the course in the language of the respective location.
Another enhancement is, we can use advanced actions as shown in the screenshot below.
7. Learning Interaction:
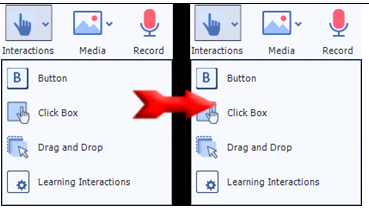
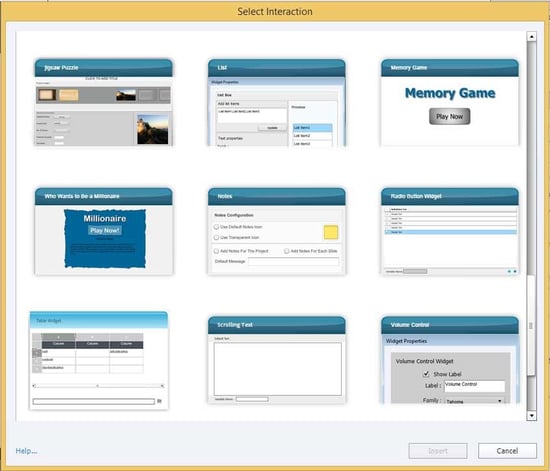
New interactions added in Captivate 9 include Volume Control, Bookmark, Bulletin, Carousel and Listbox.
8. SVG (Scalable Vector Graphics) characters:
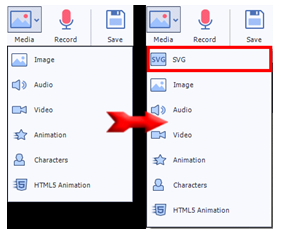
In the previous version, the quality of images was improved by editing them using Adobe Photoshop. In the latest version, SVG option has been added through which we can create or edit vector-based objects. On clicking this SVG option, the character or object opens in Adobe Illustrator where you can make changes and save the file. Ensure that Adobe Illustrator is installed in your PC.
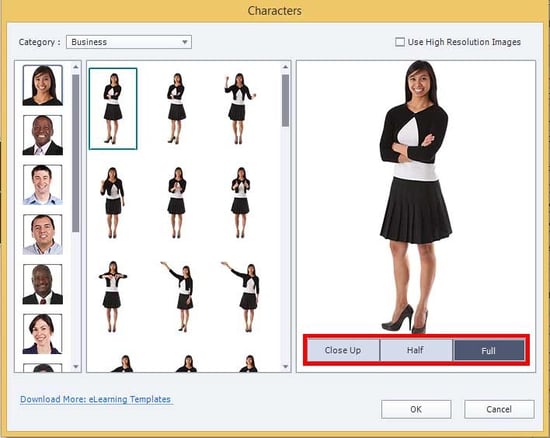
In the characters selection, we have Close-up, Half, and Full image options (there is no need to crop the characters).
9. Preview and Publish:
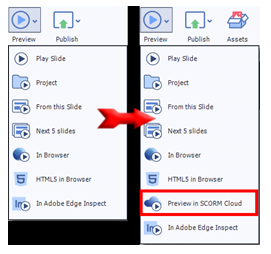
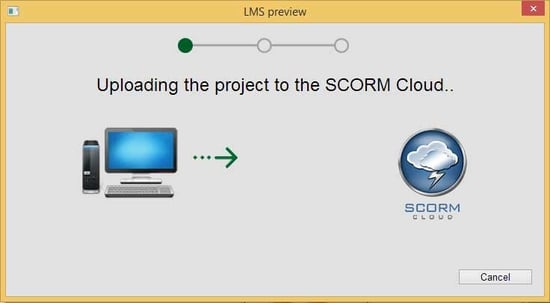
Many organizations set up an LMS that can help track and organize learning activities. Captivate 9 has a new feature where developers can preview to SCORM Cloud to track the status and scores of the module. In Captivate 8, we publish the module in SCORM and upload the file to the LMS to track. Now it has become very easy to track the module.
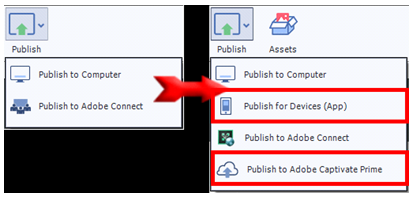
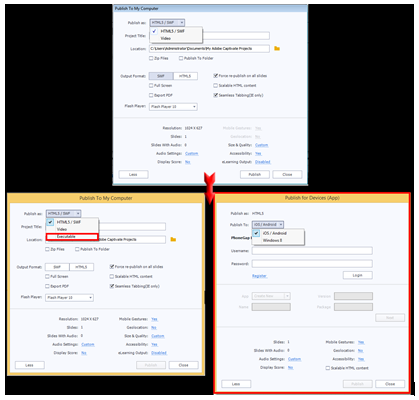
Captivate has ability to publish in multiple devices such as Desktops, iPads and mobile devices. The latest feature of Captivate 9 allows us to publish the course as an android/ios app (App).
The important point here is that, with one source file, we can publish the course to multiple devices and apps. Now you can publish in various formats such as HTML5, SWF, Video, Executable, App, Adobe Connect and Captivate Prime.
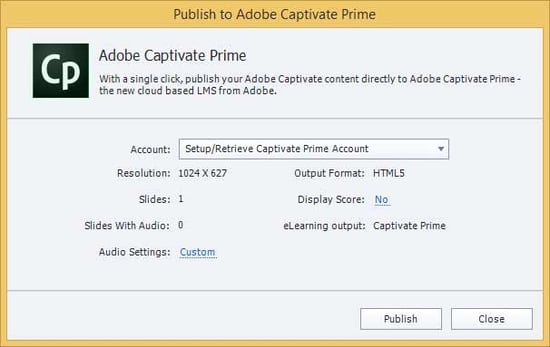
Publish to Adobe Captivate Prime
It is a Learning Management System environment where you need to create a new account and publish to Adobe Captivate Prime to check your course.
Publish for Devices (App)
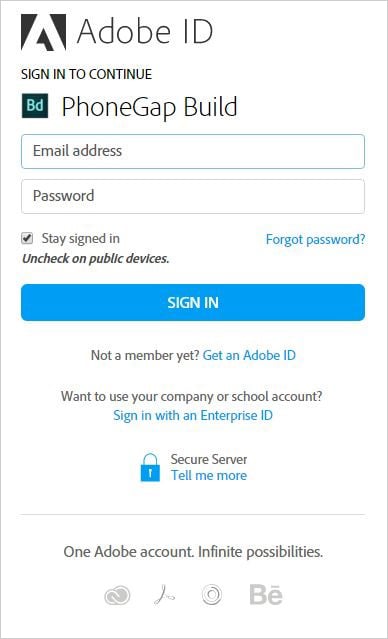
We can publish to android or IOS with the help of PhoneGap. You need to create your Login ID and password.
Executable Publish
You can publish to Windows Executable .exe or MAC Executable .app
These are the new features added in Captivate 9.
Hope you liked my post. Please do share your views!


